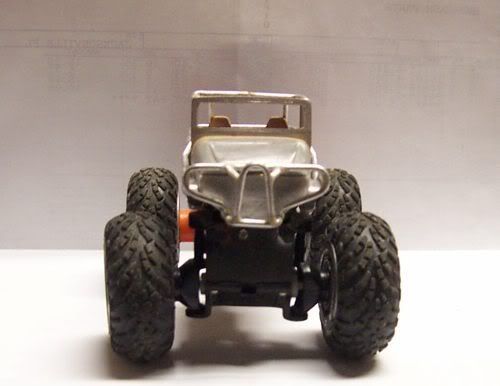
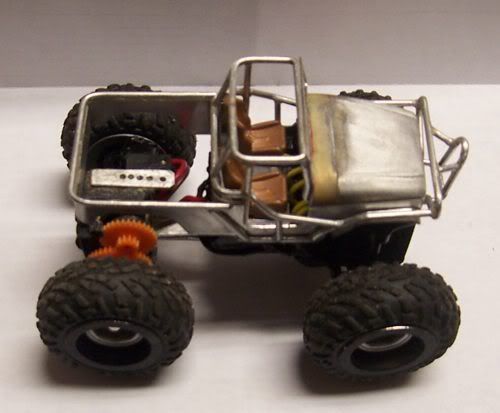
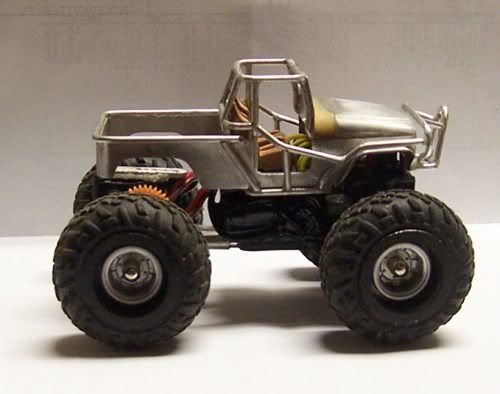
Spy Shots
-
frizzen
- bitDisciple
- Posts: 1730
- Joined: Wed Aug 03, 2005 7:48 am
- Location: Big Left Turn, Indiana
- Contact:
That's looking pretty sweet!
Um, SWG kinda forgot to mention that aluminum doesn't like Primer any more than Paint... You might be able to get by with a good Etching Primer, but even then I'm not sure if it'd really work well. If you're going to attempt painting your aluminum body, I'd REALLY suggest you Alodine it first. Then I'd probably lay down a layer of Zinc Chromate primer, and move on to the normal paint. Or maybe I'm just thinking too hard because I'm constantly having to deal with aluminum at work (aircraft mechanic). *shrug*
Um, SWG kinda forgot to mention that aluminum doesn't like Primer any more than Paint... You might be able to get by with a good Etching Primer, but even then I'm not sure if it'd really work well. If you're going to attempt painting your aluminum body, I'd REALLY suggest you Alodine it first. Then I'd probably lay down a layer of Zinc Chromate primer, and move on to the normal paint. Or maybe I'm just thinking too hard because I'm constantly having to deal with aluminum at work (aircraft mechanic). *shrug*
Jack of all trades, master of none; yet often better than master of one.
-
End genital mutilation, don't circumcise. Restore your fore'
-
End genital mutilation, don't circumcise. Restore your fore'
- redrustbucket
- bitGangsta'
- Posts: 363
- Joined: Wed Mar 15, 2006 9:41 pm
- Location: sunny acres, fl
Thanks for the compliments.
Cruiser should be back on the road Tuesday once the part comes in. I had a new radiator, waterpump, fan clutch, fan and brake master I'd been meaning to put in so I'm doing that this weekend while it's down.
Painting this thing will probably be my biggest headache. I wasn't originally going to prime it because I didn't want too much paint buildup but you guys have me rethinking that one.
I can take it into work and alodine and prime it there. I know that paint sticks! It's brush on where I get it but maybe I can get it sprayed in the paint booth. I'm not sure how the epoxy will react to the alodine though.
I was going to rattle can it with some Rustoleum. I'll try some test pieces and keep y'all posted. Later, Jeremy
The devil made me do it the first time, the second time I done it on my own...
tlca # 14622
tlca # 14622
-
Nasphere
- bitNinja
- Posts: 525
- Joined: Wed Jan 05, 2005 11:24 am
- Location: SoCal
- Contact:
Grey RTV silicone would work GREAT for waterproofing electronics, as well as keeping heat from building up. However, I think the electrical tape flows into the cracks easier.redrustbucket wrote:Yes, the liquid tape is to waterproof it and prevent corrosion. I just hope heat buildup is not an issue. The dielectric grease seems like it might get messy but it would waterproof it well.guerd87 wrote:does that liquid electrical tape protect the elctronics from water damge? i was thinking about using some dielectric grease (similar stuff that i use on my computer to stop condensation, phase change cooling)
Awesome truck there, I'm lovin it!
Whack!
- redrustbucket
- bitGangsta'
- Posts: 363
- Joined: Wed Mar 15, 2006 9:41 pm
- Location: sunny acres, fl
- redrustbucket
- bitGangsta'
- Posts: 363
- Joined: Wed Mar 15, 2006 9:41 pm
- Location: sunny acres, fl
- )3utthead
- bitThug
- Posts: 51
- Joined: Sat Jul 15, 2006 7:17 pm
man its been a long time since i posted here anyway it looks good man keep it up
check out my gallery

- redrustbucket
- bitGangsta'
- Posts: 363
- Joined: Wed Mar 15, 2006 9:41 pm
- Location: sunny acres, fl
- ChemicalInDependency
- bitHood
- Posts: 31
- Joined: Tue Dec 05, 2006 9:05 pm
- Location: Washington (the state)
- redrustbucket
- bitGangsta'
- Posts: 363
- Joined: Wed Mar 15, 2006 9:41 pm
- Location: sunny acres, fl
-
Nasphere
- bitNinja
- Posts: 525
- Joined: Wed Jan 05, 2005 11:24 am
- Location: SoCal
- Contact:
Looks to me like you'll need the CG as low as possible... On my ZZM I tossed a torquey/slow N20 size motor as low as it'd go in the tub and poked the pinion out the side to connect to the spur.. That puts the motor at a 40/60 middle position.
Here's a video I made showing the angle it can climb:
http://bitpimps.lixlink.com/pages/phpGa ... ventur.MOV
Think a normal ZZM could do that??
Here's a video I made showing the angle it can climb:
http://bitpimps.lixlink.com/pages/phpGa ... ventur.MOV
Think a normal ZZM could do that??
Whack!
- redrustbucket
- bitGangsta'
- Posts: 363
- Joined: Wed Mar 15, 2006 9:41 pm
- Location: sunny acres, fl
Glad you guys are diggin' it. Currently the suspension is kicking my ass but it should be straightened out in the next few days.
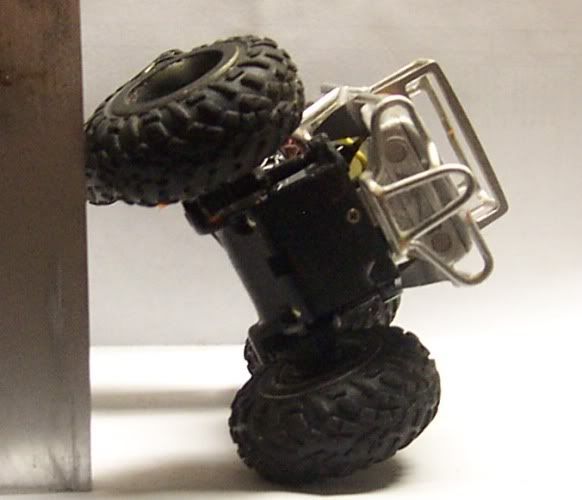
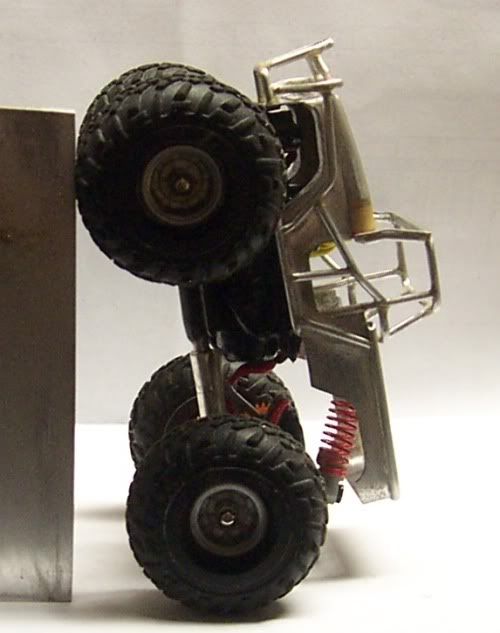
After Nasphere's post I was curious as to how steep it would climb. I got it to do about 50 degrees without rolling so it's pretty good as far as cog.
Unfortunately the cat's out of the bag as far as the build goes. My buddy found the other website I had some pics posted on by chance. The good news is he clarified the color and is sending me some paint so I can match it.
The devil made me do it the first time, the second time I done it on my own...
tlca # 14622
tlca # 14622
- redrustbucket
- bitGangsta'
- Posts: 363
- Joined: Wed Mar 15, 2006 9:41 pm
- Location: sunny acres, fl
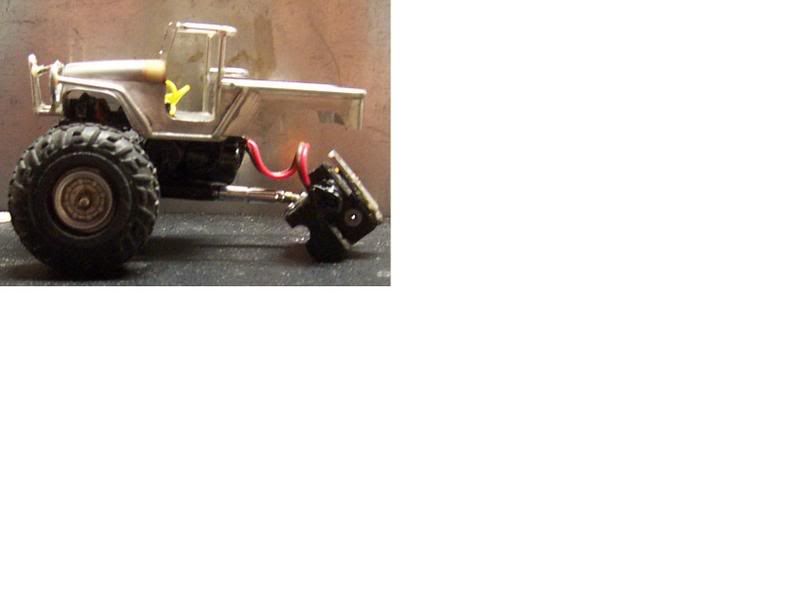
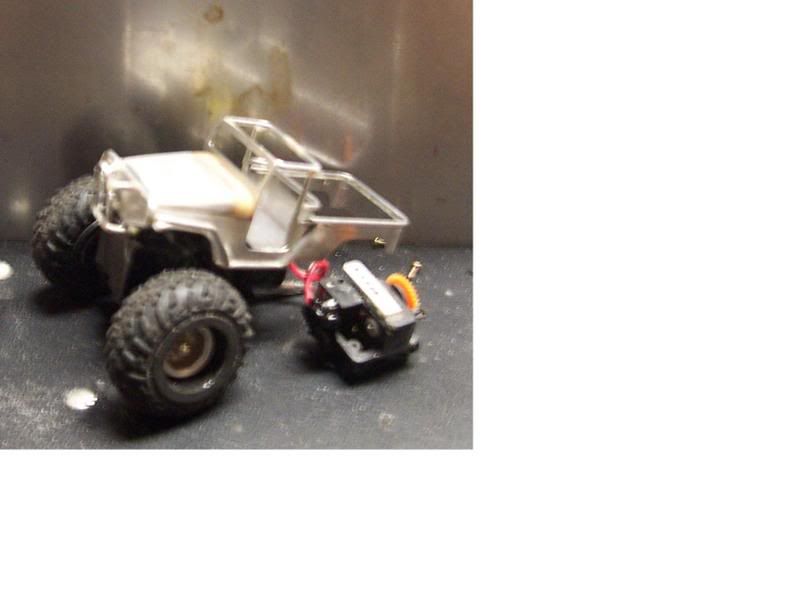
Alright it's basically done minus paint and interior.
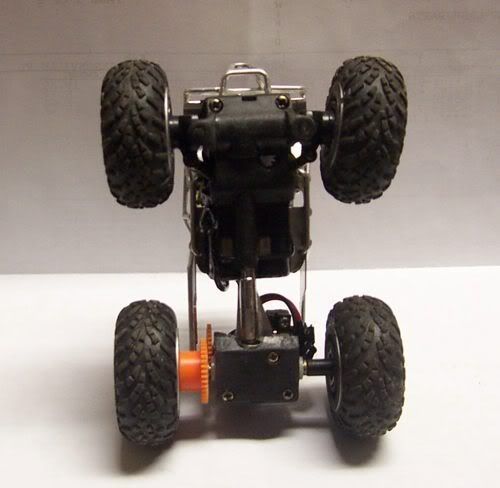
Pics:
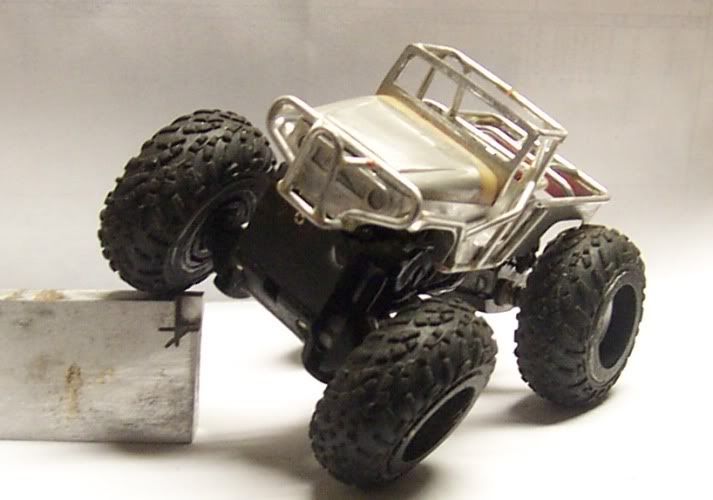
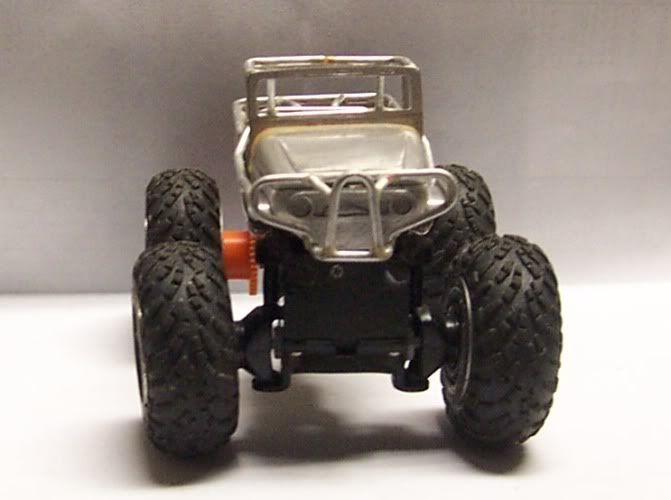
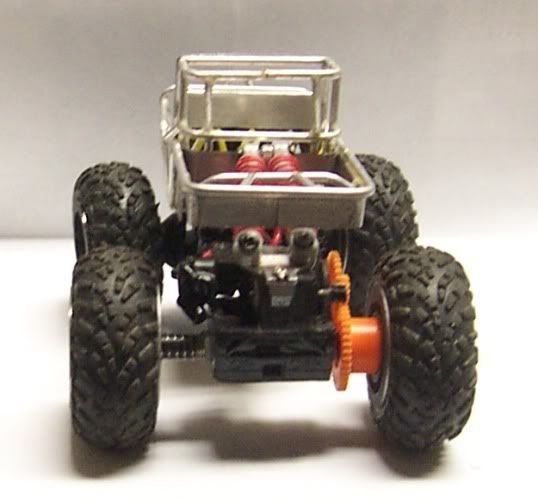
Good shot of the adjustable suspension. You can change the spring rate infinitely by sliding the lower spring mount fwd ( softer ) or back ( stiffer ).
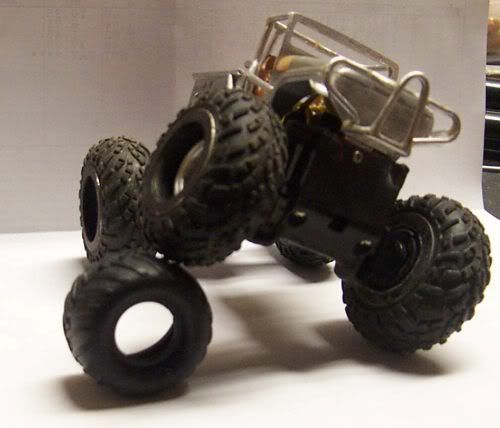
Couple to demonstrate low COG.
Video is still uploading.
Pics:


Good shot of the adjustable suspension. You can change the spring rate infinitely by sliding the lower spring mount fwd ( softer ) or back ( stiffer ).

Couple to demonstrate low COG.


Video is still uploading.
The devil made me do it the first time, the second time I done it on my own...
tlca # 14622
tlca # 14622
-
payaso
- bitPimp
- Posts: 4293
- Joined: Mon Dec 16, 2002 1:10 pm
- Location: on vacation in Vaporville
- Contact:


