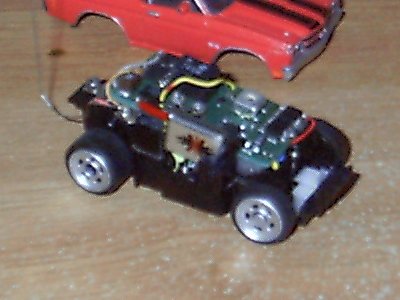
My Zip Zap SE ,with kyosho inside.
Posted: Wed Apr 27, 2005 11:32 am
Hello fellow Pimps.... This is my first time here and was recommended by big pimpin LBRC to show you all my latest project car. It is a Zip Zap SE with a kyosho mr01 pcb. When I first saw LB's ZZMT with the iwaver pcb I was instantly amazed and full of ideas for a project of my own. I will post some pics from the different stages of the project from the first working prototype to the finished product here. I am working on a full write up on how to make your own.
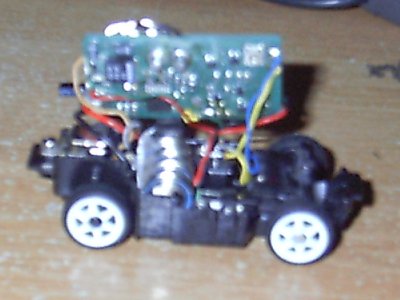
This is a pic of when I got it installed and working. At this time I had a xmod servo pot fit inside because the SE's pot is a 10k and wouldn't work right with the pcb (later fixed by using a 10k resistor on the SE's pot). I had to trim off the drive motor tabs for it to fit over the chassis as good as possible.
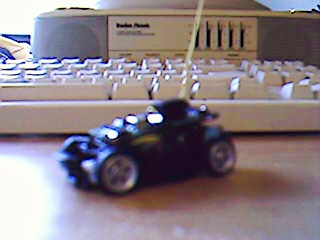
This second pic is of the first revision I made with mounting the crystal on the side to allow a body to fit over the chassis, also added some shrink wrap to hold everything down.
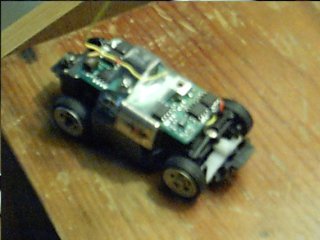
The stock SE's antenna was working ok but I wanted more range (was getting about 10 to 15 feet) so I used a spare xmod antenna and bent it to go under the body so it would be easier to add and remove the body (range is anywhere from 20 to 25 feet now).
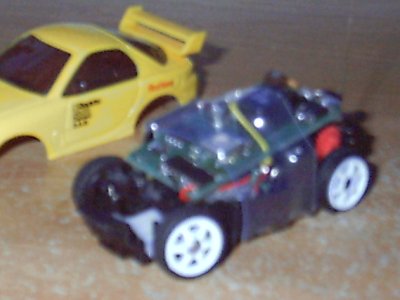
Now I upgraded the power source. I found some nimh button cells that was small enough to fit 4 (4.8v hehe) into the stock battery holder. The work very well but my runtime is decreased since the are only 40mah batts (after testing them I removed them until I can get some shrink wrap to make them a small pack).
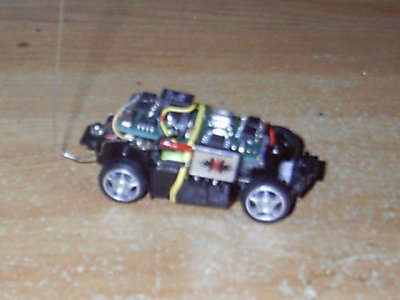
Here is the pic of the final revision. I switched to a 2nd gen chassis (was in a 1st gen) and used the SE's servo pot with the resistor. Cleaned up the wiring
Hope you like and thanks again LB for your help...later pimps!!!
This is a pic of when I got it installed and working. At this time I had a xmod servo pot fit inside because the SE's pot is a 10k and wouldn't work right with the pcb (later fixed by using a 10k resistor on the SE's pot). I had to trim off the drive motor tabs for it to fit over the chassis as good as possible.

This second pic is of the first revision I made with mounting the crystal on the side to allow a body to fit over the chassis, also added some shrink wrap to hold everything down.

The stock SE's antenna was working ok but I wanted more range (was getting about 10 to 15 feet) so I used a spare xmod antenna and bent it to go under the body so it would be easier to add and remove the body (range is anywhere from 20 to 25 feet now).

Now I upgraded the power source. I found some nimh button cells that was small enough to fit 4 (4.8v hehe) into the stock battery holder. The work very well but my runtime is decreased since the are only 40mah batts (after testing them I removed them until I can get some shrink wrap to make them a small pack).

Here is the pic of the final revision. I switched to a 2nd gen chassis (was in a 1st gen) and used the SE's servo pot with the resistor. Cleaned up the wiring

Hope you like and thanks again LB for your help...later pimps!!!
