Hi/Lo switch controller mod
Posted: Fri Jul 29, 2005 8:52 pm
This is a mod I have done to a few of my controllers and I have decided to share it with everyone. I just got done doing one for a friend and figured I would snap some pics and make a small how to. So here we go........
First you will need a few things.
1. small philips to take the controller apart
2. hobby knife and/or pair of needle nose pliers
4. soldiering gun, some soldier, and flux (if you have it)
3. some glue to help keep the switch in place (your choice)
and
The two important pieces, a small momentary switch (I rob'em form old PC cases), and a xmods controller.
Once you have everything ready... it is moddin time!!!
First things first, take it apart.

Here is the controller apart with the switch next to it. These fit perfectly inside.
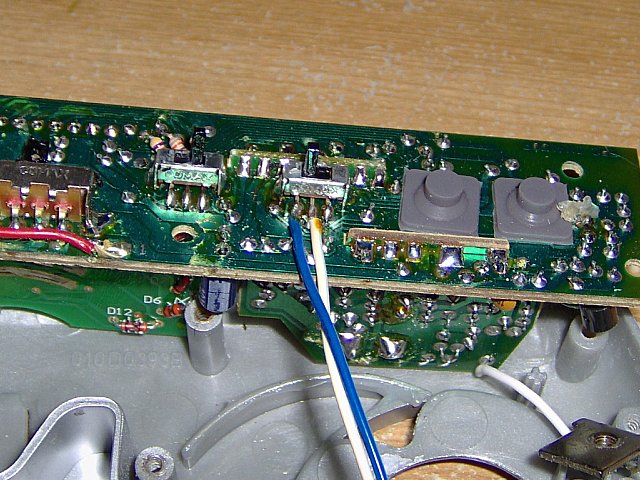
Now you soldier the switch up to the switch on the cb like this. It don't matter what color wire goes where as long as you soldier them to the points as shown.
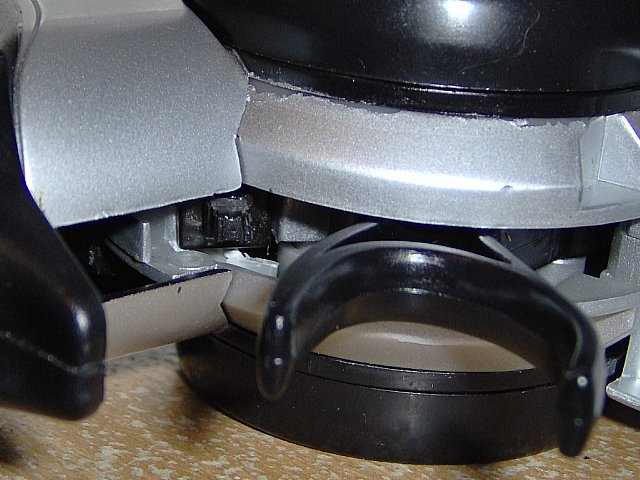
With that out of the way. You get get to trim up the location to put the switch.
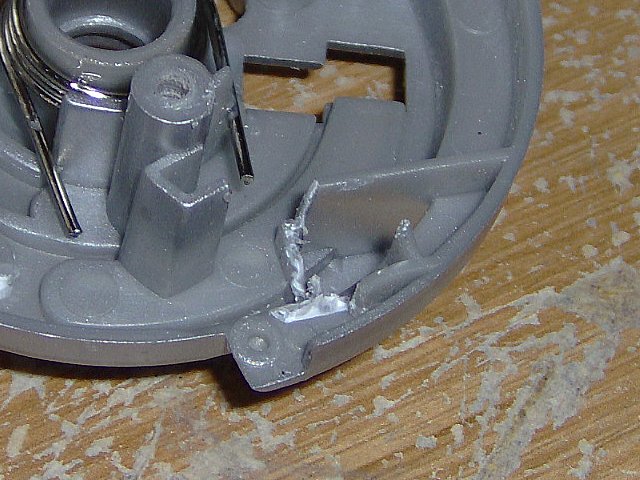
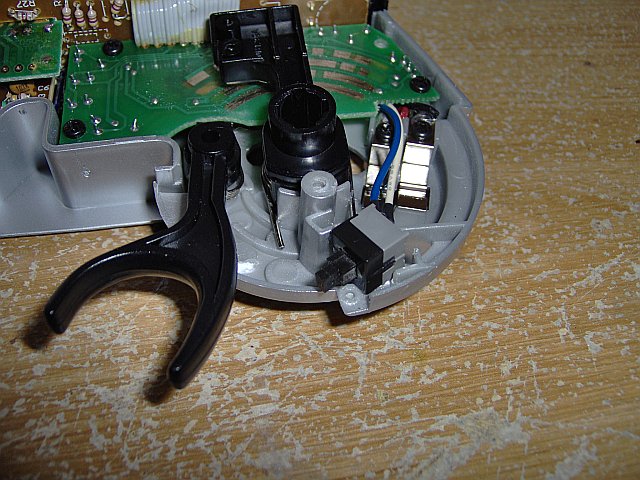
Use a little glue to hold it in place and start to reassemble the controller. I should look something like this. The other half of the controller will need to be trimmed as well. Just line it up and see what needs to be trimmed and try to trim it as close as possible. I will aid the glue to hold it in place.
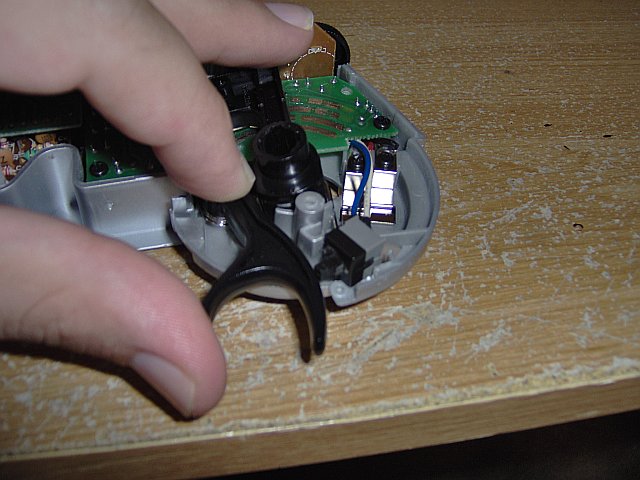
When the trigger is fully squeezed it will push the switch in and will switch to hi at full throttle. (like my ZEX kit, floor it and it engages)
Put it all back together and you are ready to go.
For this to function right leave the hi/lo switch on low. You can still run it on hi with no side effects as well.
To me it makes racing a little easier since I have a little better control going in and out of the corners but still have the power for the straights without having to fiddle with the switchs. Later pimps!!!!
First you will need a few things.
1. small philips to take the controller apart
2. hobby knife and/or pair of needle nose pliers
4. soldiering gun, some soldier, and flux (if you have it)
3. some glue to help keep the switch in place (your choice)
and
The two important pieces, a small momentary switch (I rob'em form old PC cases), and a xmods controller.
Once you have everything ready... it is moddin time!!!
First things first, take it apart.
Here is the controller apart with the switch next to it. These fit perfectly inside.
Now you soldier the switch up to the switch on the cb like this. It don't matter what color wire goes where as long as you soldier them to the points as shown.
With that out of the way. You get get to trim up the location to put the switch.
Use a little glue to hold it in place and start to reassemble the controller. I should look something like this. The other half of the controller will need to be trimmed as well. Just line it up and see what needs to be trimmed and try to trim it as close as possible. I will aid the glue to hold it in place.
When the trigger is fully squeezed it will push the switch in and will switch to hi at full throttle. (like my ZEX kit, floor it and it engages)
Put it all back together and you are ready to go.
For this to function right leave the hi/lo switch on low. You can still run it on hi with no side effects as well.
To me it makes racing a little easier since I have a little better control going in and out of the corners but still have the power for the straights without having to fiddle with the switchs. Later pimps!!!!