Painting lexan bodies 101b. Basic 2 color rattle can scheme
Posted: Thu Feb 10, 2005 1:10 am
I wanted to get a new bashing body for my Revo, but not much out right now that works with the new design of it. (body wise)
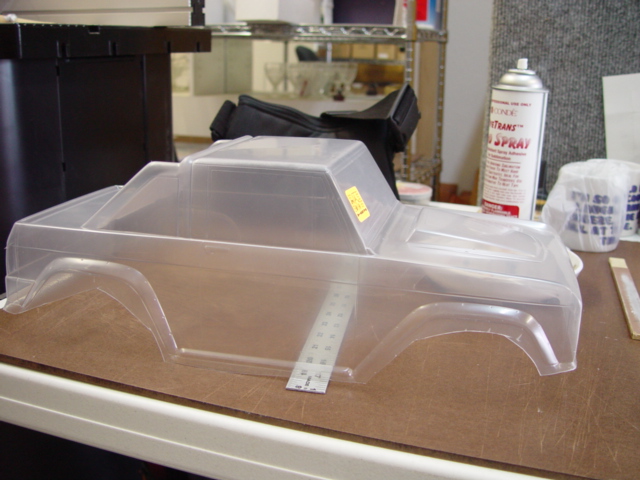
I have a '73 Bronco for my Maxx, and it's a kick ass shell, and tough to boot, so I checked , and it looked like I could make it fit the Revo with minor mods. (mostly cutting).
Bought the new body, and thought that since I'll be painting anyways, I might as well take some in progress pics, and a how to of sorts..
This is just your basic 2 color race scheme. I was going to break out the air brush, and even had the flames all drawn up, but decided that it's just gonna get trashed, so basic and quick it is.
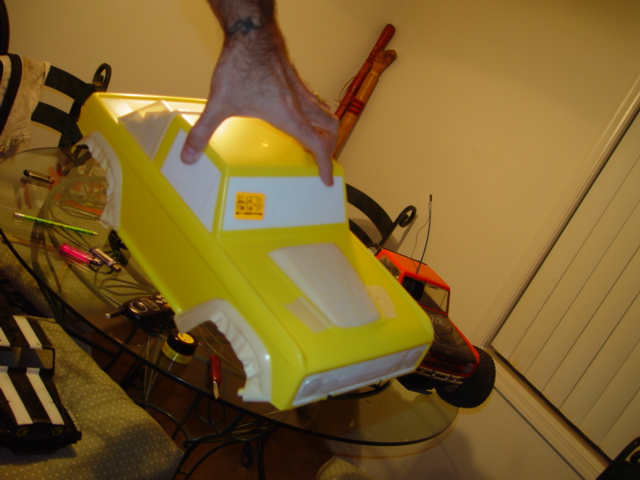
First thing you need to do is get your scissors out, and cut the bulk of the lexan off the bottom of the body like in the pics below. No need to try to get to the edges (rough cuts are ok) as you're just removing enough to fit the body to the truck/car.
I always prefer to fit the body to the truck it's going on before painting, cause it's easier to see where the mounting holes will be, and anything else that might need to be seen before hand. This particulay body was way off too, so it was a big help marking the body holes first. You can see they are way off from where HPI has them marked for the Maxx, and Savage.
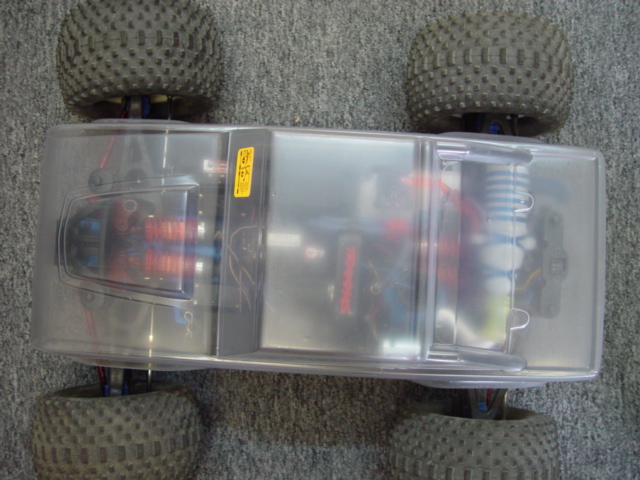
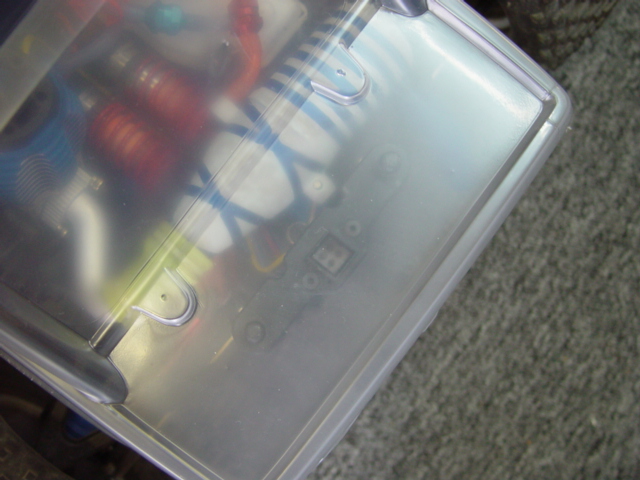
Once you get you holes marked, and everything lined up, you can trim up the rest of your body, and finish the edges to get it ready for paint.
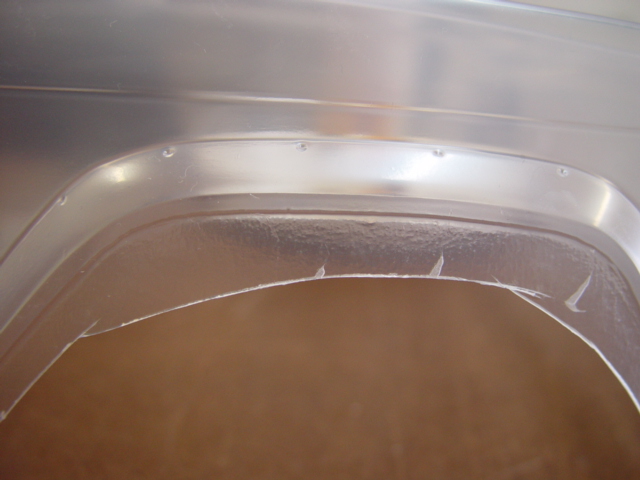
I use a dremel (and a bad ass fucker at that) to trim the rest of the way using a small drill bit, and just basically drawing where I want to cut leaving just a smal lip that I get with the sanding wheel.
After trimming with drill bit
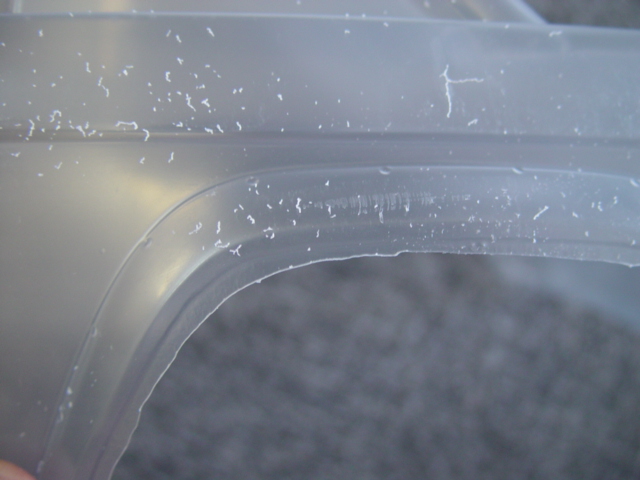
And after sanding

Once you've sanded and got it the way you like it, it's time to wash it with warm soapy water. Make sure you clean the inside very well, as this is the suface that's getting painted.
Some people scuff the inside of the body to get the paint to adhere better, but I don't do this. I give it a good washing, and make sure it's really dry, and lint free.
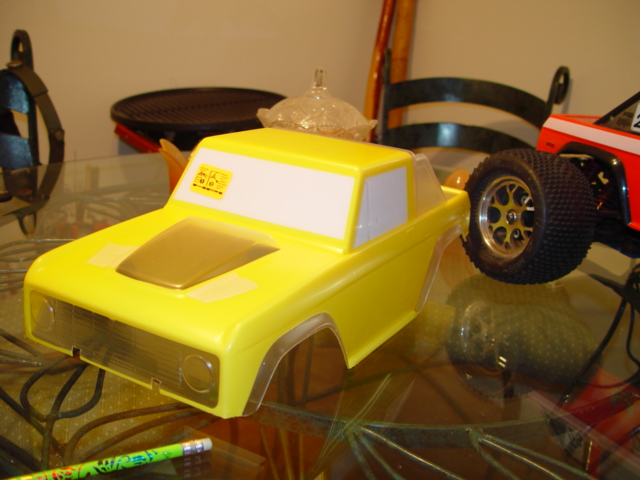
Some bodies don't come with window masks, but this one did, so I applied those first.
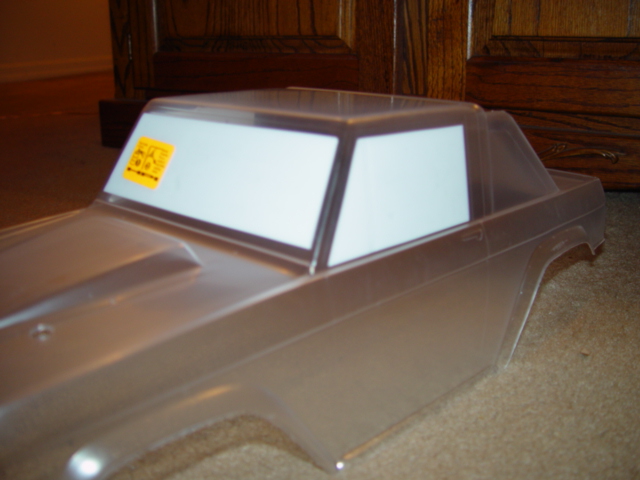
Once you get the windows masked up to your liking, you move on to masking where the second color of paint will be. You'll notice that I covered my body holes from the outside. I do this cause sometimes when trimming the body, it causes the protective film to come up a bit on the edges, so I just put a bit a tape there just to prevent any leakage
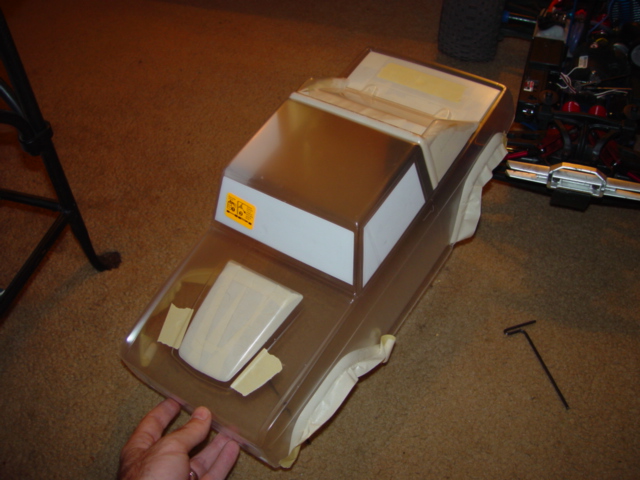
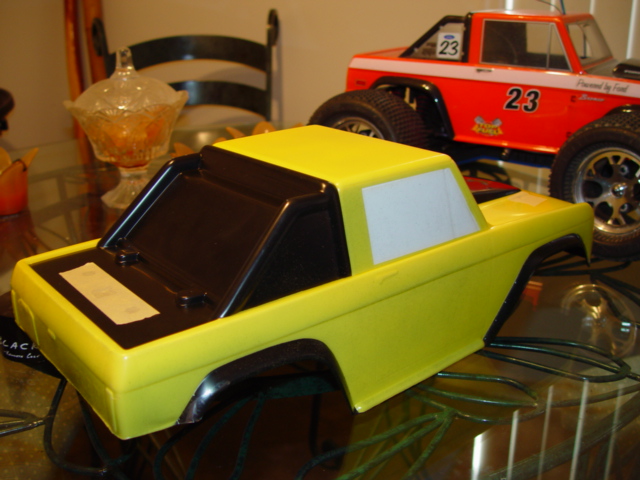
Now it's time to lay your primary color. 2-3 coats should be enough, cause it's gonna get backed with the second color and 2-3 more coats, totaling 6= plenty
First color dry with masks removed. No bleeds so that's good
Time for the second color. I'm accenting it with "Pactra" Outlaw Black. First color is "Pactra" Daytona Yellow

Once the paint is dry, you can remove the remaining window masks. An X-acto blade will lift the corner nicely, then just peel it up.
With the window masks removed

Now that the painting is all done, and out of the way, you can apply the decals that come with the body. Use the chart in the package to see how they go on, or put em on how ever the hell you want.
Now you can go bash the shit right out of your new body, and look cool as shit doing it.
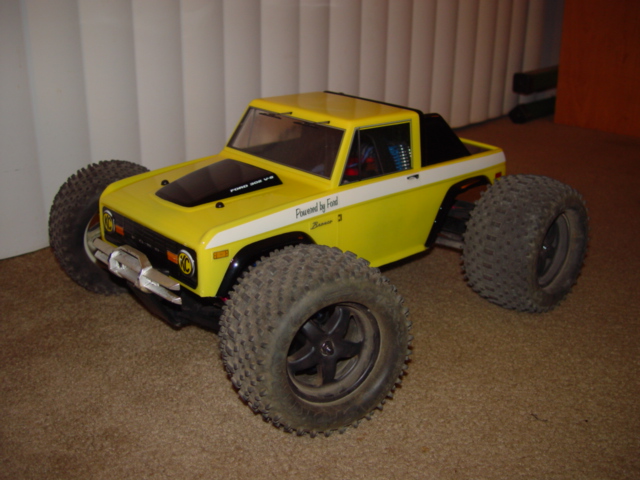
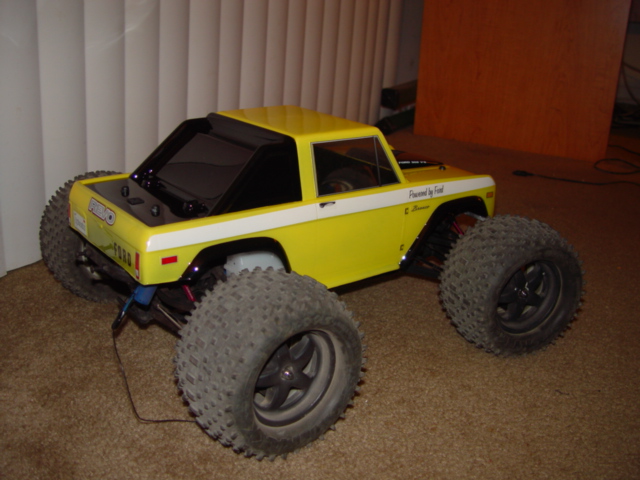
Remember if you are running a nitro vehicle to cut the venting hole in the windshield for cooling. I still have to cut mine.
silla
I have a '73 Bronco for my Maxx, and it's a kick ass shell, and tough to boot, so I checked , and it looked like I could make it fit the Revo with minor mods. (mostly cutting).
Bought the new body, and thought that since I'll be painting anyways, I might as well take some in progress pics, and a how to of sorts..
This is just your basic 2 color race scheme. I was going to break out the air brush, and even had the flames all drawn up, but decided that it's just gonna get trashed, so basic and quick it is.
First thing you need to do is get your scissors out, and cut the bulk of the lexan off the bottom of the body like in the pics below. No need to try to get to the edges (rough cuts are ok) as you're just removing enough to fit the body to the truck/car.
I always prefer to fit the body to the truck it's going on before painting, cause it's easier to see where the mounting holes will be, and anything else that might need to be seen before hand. This particulay body was way off too, so it was a big help marking the body holes first. You can see they are way off from where HPI has them marked for the Maxx, and Savage.
Once you get you holes marked, and everything lined up, you can trim up the rest of your body, and finish the edges to get it ready for paint.
I use a dremel (and a bad ass fucker at that) to trim the rest of the way using a small drill bit, and just basically drawing where I want to cut leaving just a smal lip that I get with the sanding wheel.
After trimming with drill bit
And after sanding
Once you've sanded and got it the way you like it, it's time to wash it with warm soapy water. Make sure you clean the inside very well, as this is the suface that's getting painted.
Some people scuff the inside of the body to get the paint to adhere better, but I don't do this. I give it a good washing, and make sure it's really dry, and lint free.
Some bodies don't come with window masks, but this one did, so I applied those first.
Once you get the windows masked up to your liking, you move on to masking where the second color of paint will be. You'll notice that I covered my body holes from the outside. I do this cause sometimes when trimming the body, it causes the protective film to come up a bit on the edges, so I just put a bit a tape there just to prevent any leakage
Now it's time to lay your primary color. 2-3 coats should be enough, cause it's gonna get backed with the second color and 2-3 more coats, totaling 6= plenty
First color dry with masks removed. No bleeds so that's good
Time for the second color. I'm accenting it with "Pactra" Outlaw Black. First color is "Pactra" Daytona Yellow
Once the paint is dry, you can remove the remaining window masks. An X-acto blade will lift the corner nicely, then just peel it up.
With the window masks removed
Now that the painting is all done, and out of the way, you can apply the decals that come with the body. Use the chart in the package to see how they go on, or put em on how ever the hell you want.
Now you can go bash the shit right out of your new body, and look cool as shit doing it.
Remember if you are running a nitro vehicle to cut the venting hole in the windshield for cooling. I still have to cut mine.
silla