W.I.P. my h1 humvee diary
Posted: Thu Sep 28, 2006 11:27 pm
i've been wanting to do a serious micro for ages, just too lazy.
but as usual, a few parts i've had lying around started coming together in my mind.
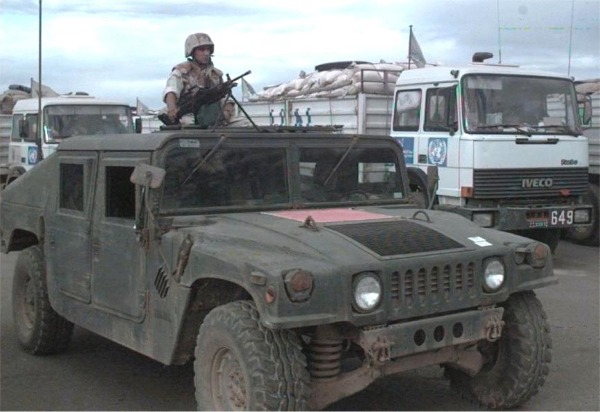
so the plan, make a zz sized one of these:
parts i'll be using:
kyosho mr02 pcb
zzse chassis
80mah lipo
"dragon slayer" h1 humvee bod
futaba 3pk tx

mods:
suspension
erm, better i tell you what won't be modified!
it won't have a working diff, how's that!
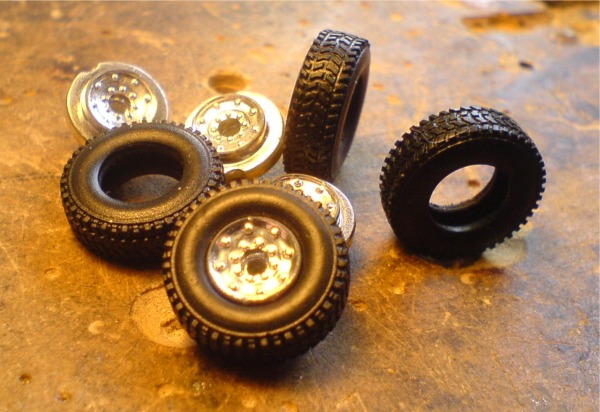
i was originally gonna go with a set of my modified lego rims/tyres.
but i've decided to go with a set of wheels steelwoolghandi sent me once, mainly for the scale look. i'd say these must have come from a diecast hummer, the wheels are an exact replica and same goes with the tyres.
 @ swg!
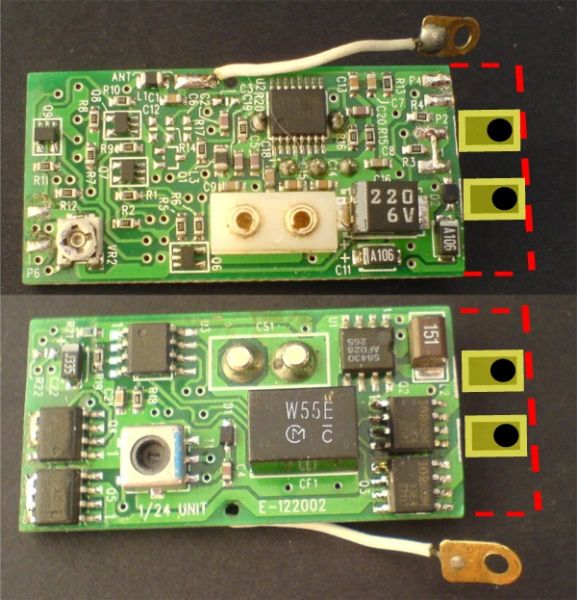
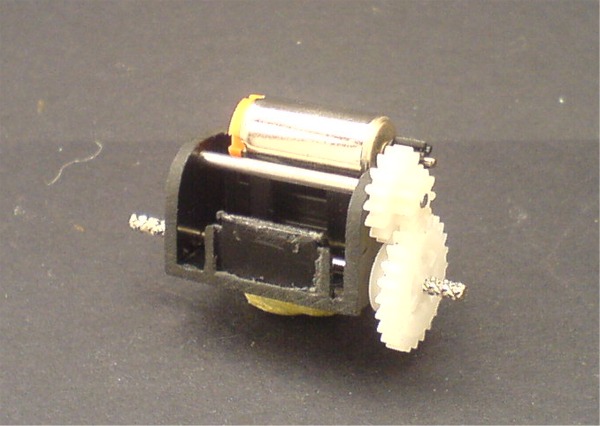
the zzse rear end is a bit too bulky what with the heat sink and screw mounting, etc.
so i'm going with the rear end off an "enertec micro charger" (as seen under my s2000 monster and rally ferrari).
the axle isn't removable like bits and zips but it's more compact, fast (7.1:1 gear ratio) and alot more mod friendly.
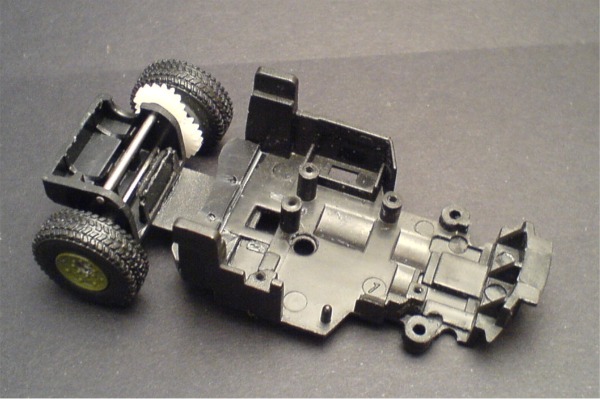
here it is all chopped and smoothed:
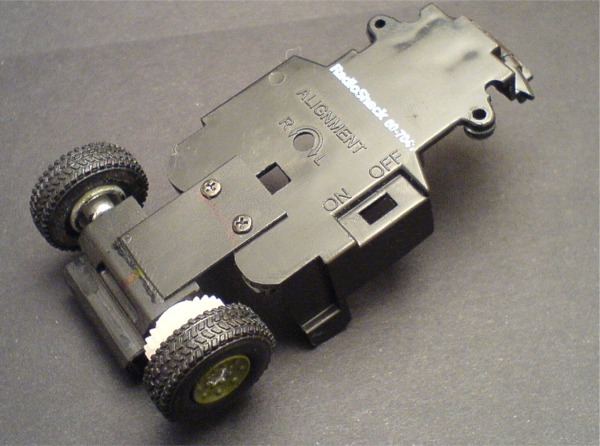
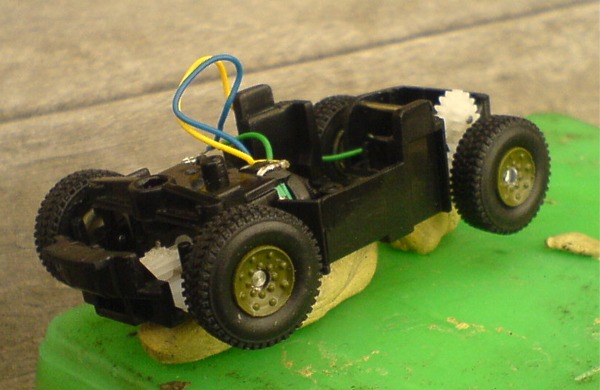
so far i've got the wheels all painted, mounted and finished, couldn't resist a little mockup!
as for the body and detailing, i'm going for a low key military look. as it will be a driver i won't bother adding pipes or guns that are gonna break off in use.
so i'll chop the tray out, make a "slope back" for it and give it a coat of olive drab. maybe an olive/brown/black camo like my current camo hummer.
then i'll "weather" it
but as usual, a few parts i've had lying around started coming together in my mind.
so the plan, make a zz sized one of these:
parts i'll be using:
kyosho mr02 pcb
zzse chassis
80mah lipo
"dragon slayer" h1 humvee bod
futaba 3pk tx
mods:
suspension
erm, better i tell you what won't be modified!
it won't have a working diff, how's that!
i was originally gonna go with a set of my modified lego rims/tyres.
but i've decided to go with a set of wheels steelwoolghandi sent me once, mainly for the scale look. i'd say these must have come from a diecast hummer, the wheels are an exact replica and same goes with the tyres.
the zzse rear end is a bit too bulky what with the heat sink and screw mounting, etc.
so i'm going with the rear end off an "enertec micro charger" (as seen under my s2000 monster and rally ferrari).
the axle isn't removable like bits and zips but it's more compact, fast (7.1:1 gear ratio) and alot more mod friendly.
here it is all chopped and smoothed:
so far i've got the wheels all painted, mounted and finished, couldn't resist a little mockup!
as for the body and detailing, i'm going for a low key military look. as it will be a driver i won't bother adding pipes or guns that are gonna break off in use.
so i'll chop the tray out, make a "slope back" for it and give it a coat of olive drab. maybe an olive/brown/black camo like my current camo hummer.
then i'll "weather" it