Page 1 of 1

Music string suspension mod (now with pics)

Posted: Fri Apr 20, 2007 1:36 pm
by ibjamn
I have come across an awesome discovery(I guess you would call it that).

While creating my Phoenix Zip, I designed a cool set-up that will be easier to do than the dirty bit(sorry BettyK, but my ADD wouldn't allow me to try it out) :-) And it has opened the door to the front suspension issues that have kept me from finishing my OffRoadSE.

It's using small gauge guitar string, scap plastic(cut from modded chassis), Plastruct Bondene (plastic solvent cement) and a lot of patience :lol: And the only tool it will require is old nail clippers (or cutting dikes) and a very small set of needle nose pliers.

I would post some good pics, but it'll have to wait until I post my Pit A Racer entry.
:lol:

Posted: Sat Apr 21, 2007 7:27 pm
by TheMechanic54
Man talk about a tease, first the tires then a suspension mod :???:

Posted: Mon Jul 16, 2007 11:57 pm
by ibjamn
This thread may be in the wrong section, now that I think about it. (Please move if so :cool: )

OOps. This does need an additional tool, a cutting tool(xacto or similar)
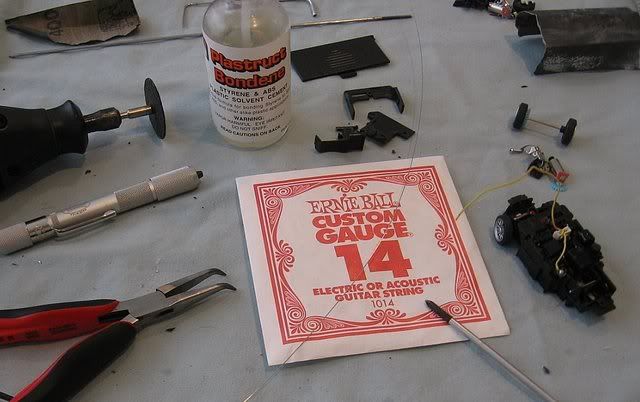
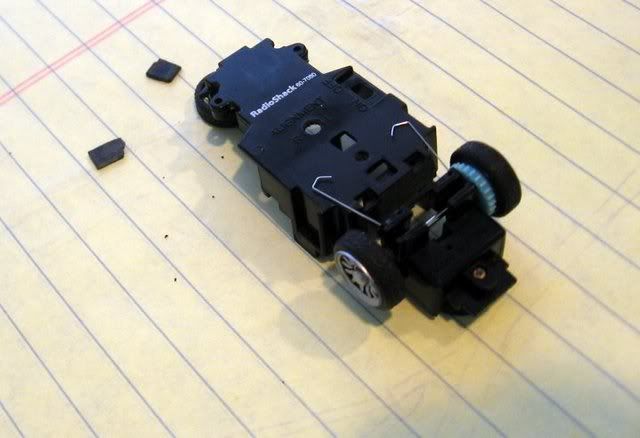
Image

Here is the start.
Disassemble the bit zip, or whatever you're modding. I'm using a ZZSE this go around.
Image

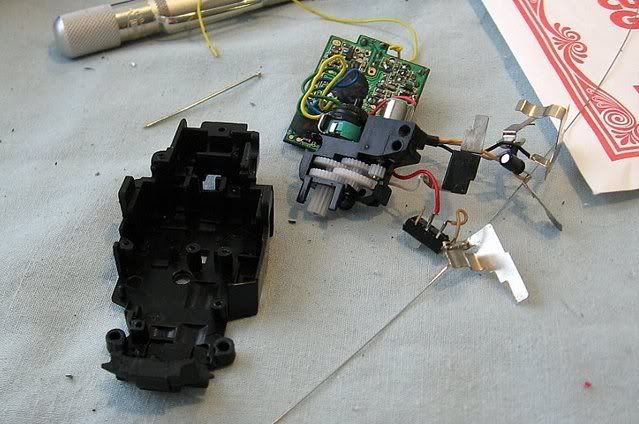
Find a line to cut through the chassis to separate the rear section(motor assembly with the axle all intact). After that file or sand smooth.
Image

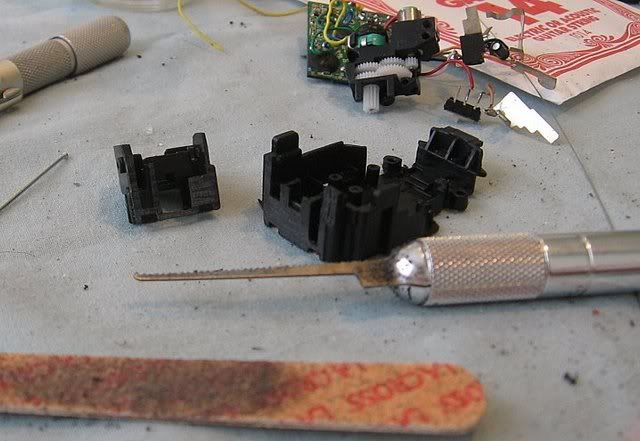
Where I cut this one, I had an area on one side of the rear section, that had a void. The ZZ chassis I cut for the Phoenix Zip didn't have it. No problem. Just take the shavings or scrap plastic, dump it in the void. Then using the Bondene or CA, put a dab on the area. With the shavings, it creates a putty like substance. I like this Bondene stuff, because it is a plastic weld, actually melting the styrene or abs plastics and fusing it together. And it cures in 30 minutes, unless too much was used.
Image

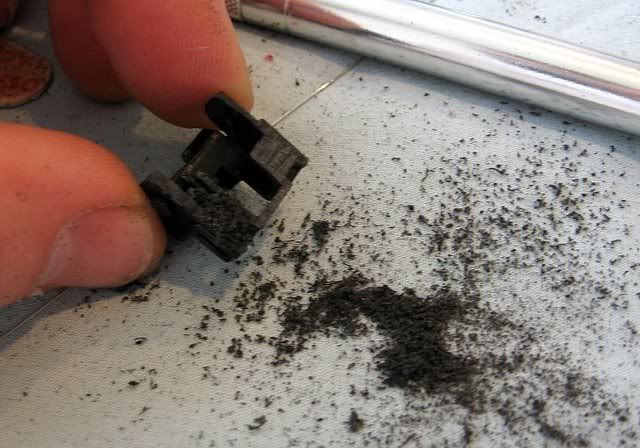
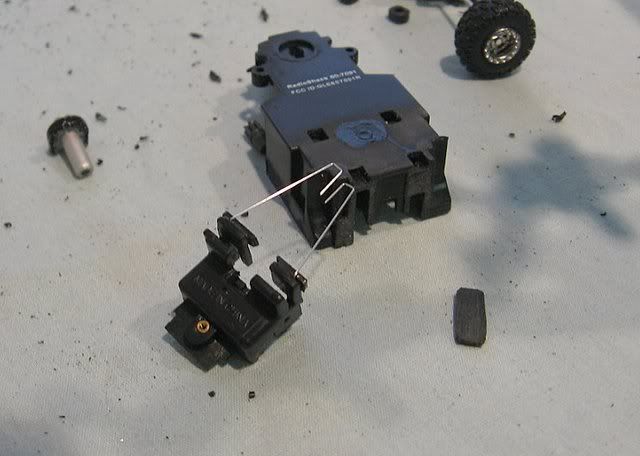
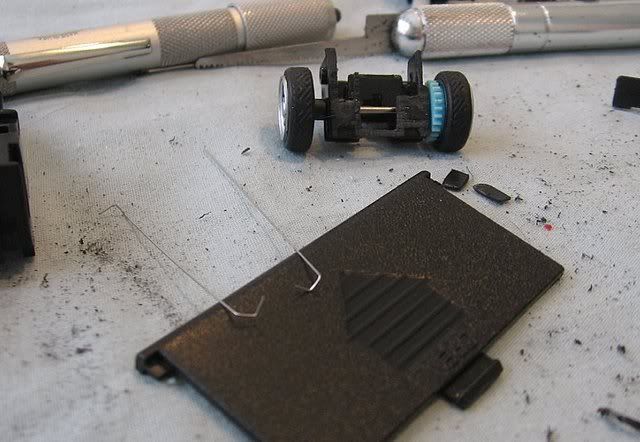
You can see the void filled in in this pic. just needed to be flattened out with a nail file. Take one piece of the the guitar string (pictured is 11 gauge that is thinner than the 14 shown earlier. I wanted a very loose suspension :-o ) and bend the ends into angles. Basically, I made a 90* bend about 3-4 mm from the end horizontally, and another 90* bend about 3-4 mm vertically to the the left (on the other piece of string, bend to the right). At this point, you'll need 2 small thin rectangular flat pieces of plastic. note the ones to the right in the pic.
Image

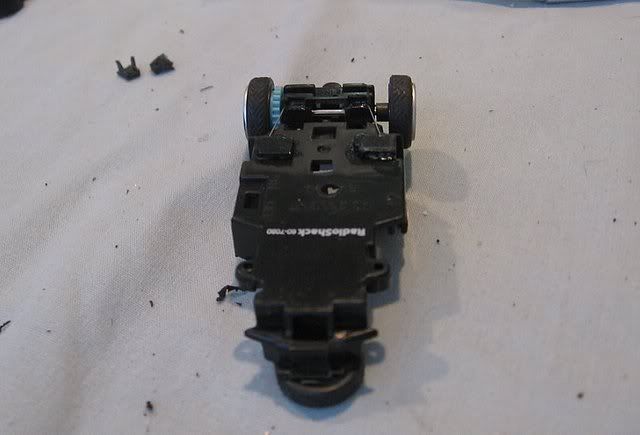
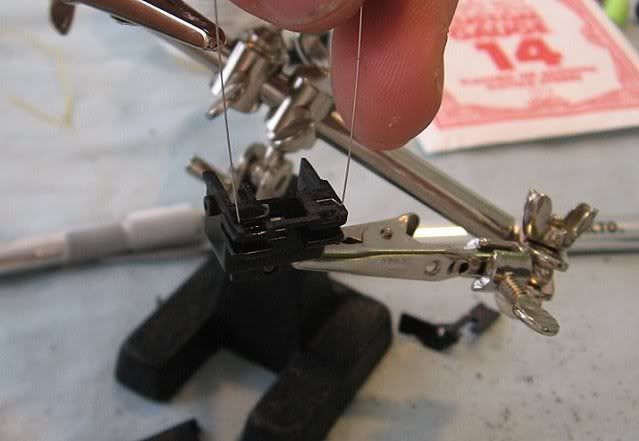
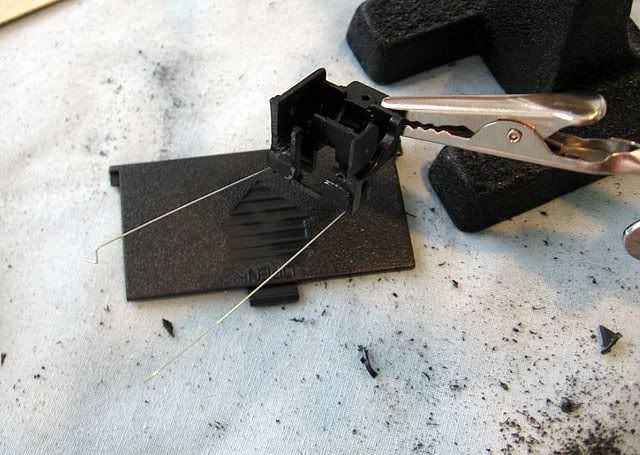
Now you will take the glue and the rear part of the cut chassis, dab some on the area that the string will attach to. Have it so the string is to the outer side and bottom of the foward facing area (not all the way to the edge, though), and so that the "L" shape faces inward, as in the pic. Keep in mind, the center of this section is not exactly the center of the rest of the chassis. So consider that in the placement of the strings. Place one of rectangular scraps, and place it on top of the"L", fully covering it. Press gently for several seconds, to make the plastic bond as well as possible. Don't worry if the strings don't stick out evenly, or are crooked. Once it's cured, they will bend anyway you want them to. The gluing of the "L" in such a way is so that the string will not slide out or come loose later on by movement in any direction.
Image

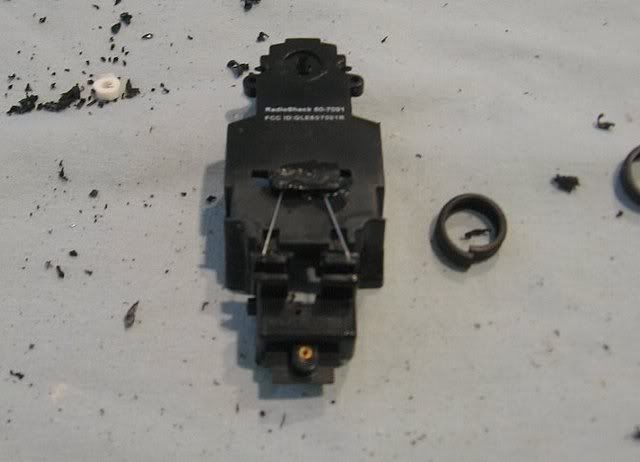
After it is fully cured, you can trim or sand the edges for a cleaner look. And you can then bend the string to the desired direction. Just don't go crazy with it, it will break if you keep bending it back and forth, just like any metal.
Image

Next up will be mating the chassis back together......but not now.

Posted: Tue Jul 17, 2007 6:11 am
by betty.k
i like the idea, should make for nice responsive suspension :-o

Posted: Tue Jul 17, 2007 12:29 pm
by ynad
hmm, keep talking :search:
sounds easy, looks good :-)

Posted: Tue Jul 17, 2007 7:15 pm
by sidewinder
Oh, I get it. I kept thinking piano wire instead of guitar string...not sure why...and I couldn't figure out how it was going to flex enough. I guess things work beter when you pay attention.

Posted: Tue Jul 17, 2007 7:23 pm
by crazydave
I kept thinking guitar string would be too floppy, but now I'm thinking if its a really short piece it would have a good springy quality to it.

Posted: Tue Jul 17, 2007 8:30 pm
by ibjamn
crazydave wrote:I kept thinking guitar string would be too floppy, but now I'm thinking if its a really short piece it would have a good springy quality to it.
Exactly. :-o
The 14 gauge is stiffer than the 11. But I am using the thinner of the two to get a looser travel.

Posted: Wed Jul 18, 2007 11:00 pm
by ibjamn
Now you straighten the strings/wire (now rods) so they are pointing in the desired direction and angles. I am doing the bends two different ways on two different chassis, so you can see how they differ. The other is a Cars ZZ. If you want the same wheelbase, you'll have to trim more off of the cut areas in the rear of the main chassis for unrestricted travel. Next, you put 2 bends on the ends of the string in a way that is similar to earlier on, except have the bends on the same plane instead of at different angles. Make sure they are as close to symetrical as possible.

Image

Image

Dap some Bondene on the chassis in the areas that you'll be attaching the bent ends, place them in position and line it up as square as possible. I used a piece of lined paper to help see if it was straight. Keep in mind, the charging jacks may get blocked, if you wanna still use them, place the wire accordingly. Once it's lined up, put a light amount of the glue on the scrap plastic, and put it in place over the bent areas of the string so it won't slip out in any direction. Press it gently for a few seconds, then check the alignment. There will be a few more seconds to adjust, then press it down for several more seconds.
Allow it to completely cure(about 10 minutes would be good just in case the plastic is still soft) and then you can bend the wire at the base of the plastic holds to get the desired stance.

Image

Image

Obviously, the body will have to be mounted in another way. And if you want to keep the lower stance or ride, you can attach the wire on the inside of the chassis instead of the underside. But that'll mean the charging tabs may have to go, or be relocated. I am making these for offroad projects.

This is so easy to do, that different results are only limited to placement, lengths, and thicknesses.

Leaving a shorter amount of exposed wire will make the suspension stiffer, more length would of course be more loose.
Attaching the wire at the outer edges of the main chassis will limit the side to side play it may have while turning, but also limits any roll.
Attaching them toward the center of the chassis will allow more chassis roll.

But, being these two chassis that are using different lengths of wire, I made a quick vid of the flex on the two unassembled chassis so you can decide which may be better.

[GVideo]http://video.google.com/videoplay?docid ... 5687172771 [/GVideo]

All thats left is putting it all back together.
I will be reassembling the Zips soon, so I can also show what is changed in mounting the electrics, and the body.

Posted: Sun Aug 12, 2007 8:17 pm
by stagg
Nice job, looks to be like a nice easy install.

Posted: Mon Aug 13, 2007 8:00 am
by ibjamn
Thanks. I wasn't sure what people thought of it so far..
:lol:

I was going to show the front suspension build up, but it isn't as easy. :shock:

Posted: Mon Aug 13, 2007 11:05 am
by SHAUN
Looks really clean and like a good system. Now if I can just find that extra zip I had lying around :???: