How To: Absurdly Small Scale Hi-Lift Jack
Posted: Sun Apr 13, 2008 11:34 pm
So upon the challenge (kinda) of frizzen that a Hi-Lift Jack would be too hard to make look good on this scale, I spent the day experimenting with different processes and this is what I got.
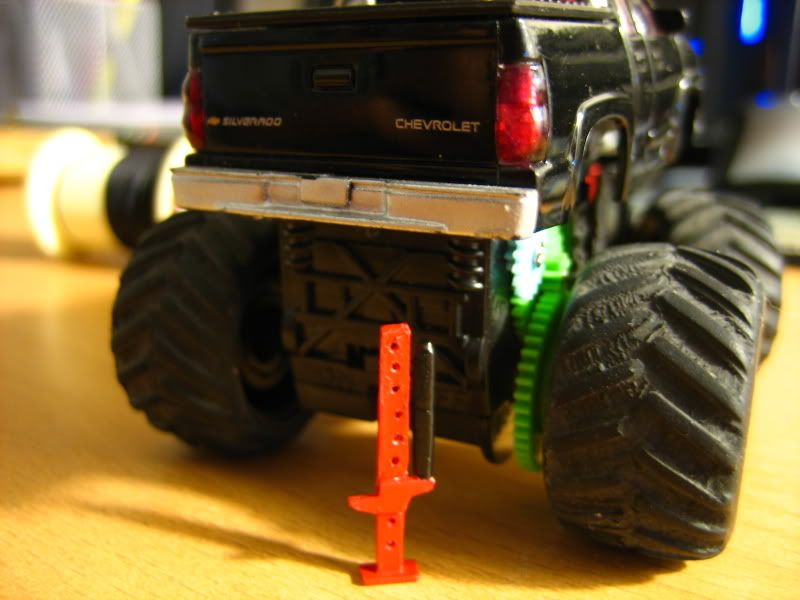
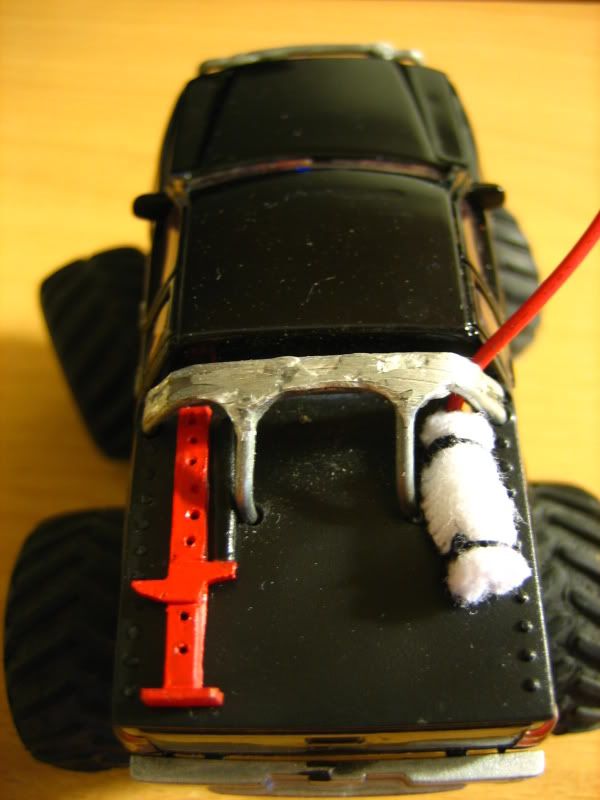
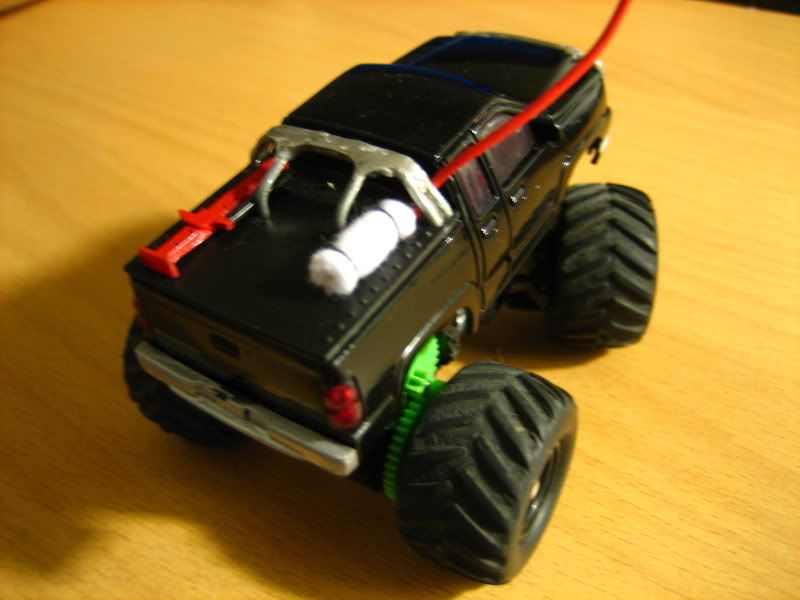
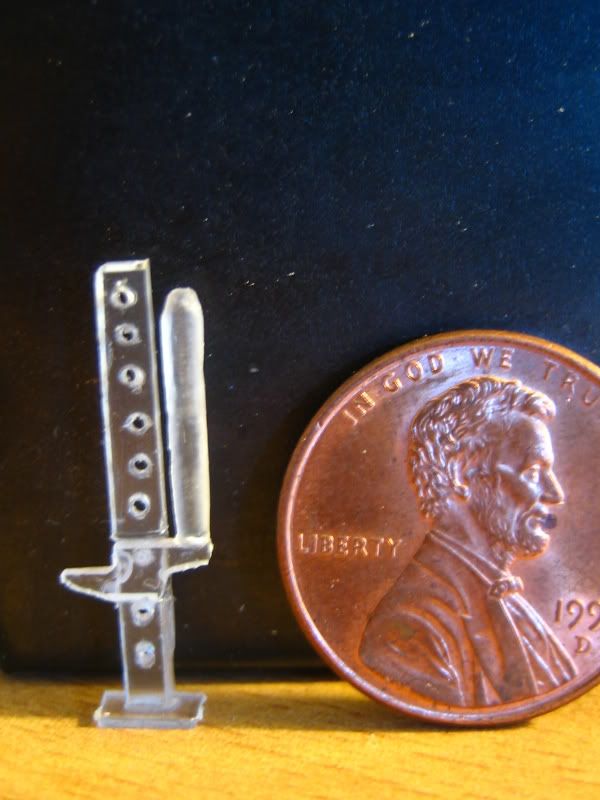
First and foremost, the intended result: a scale looking Hi-Lift Jack for your ZZMT
So now that you know what we are shooting for, let's get started.
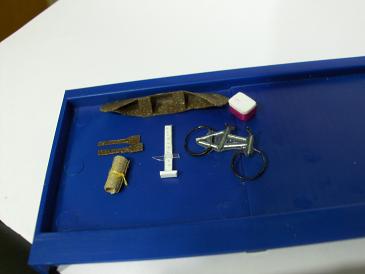
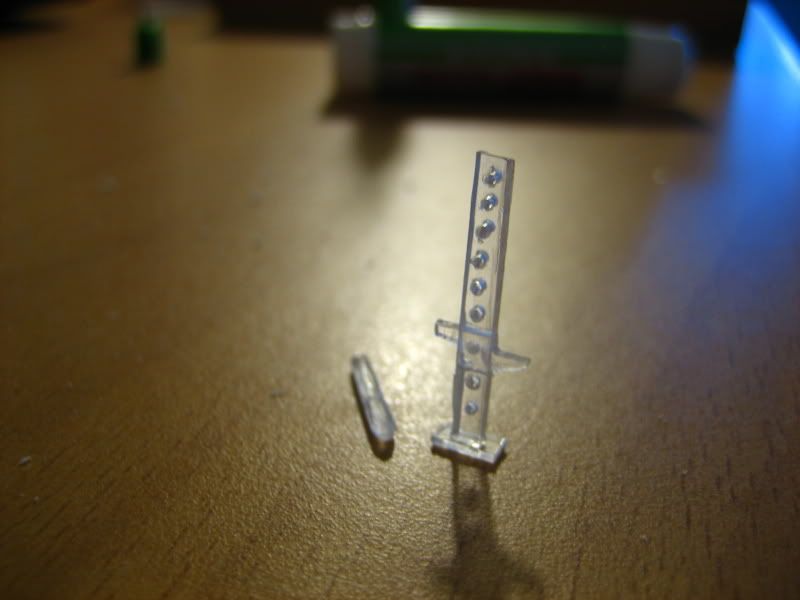
The Parts list and half ass picture.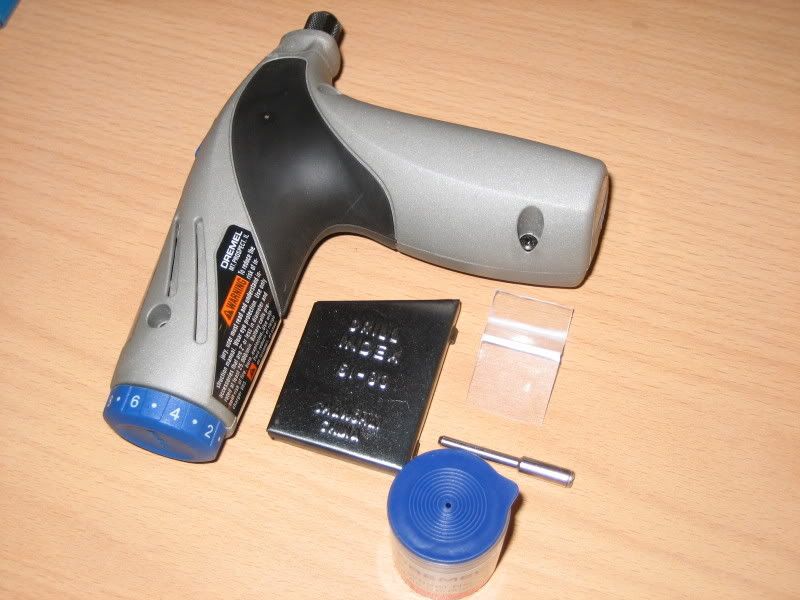
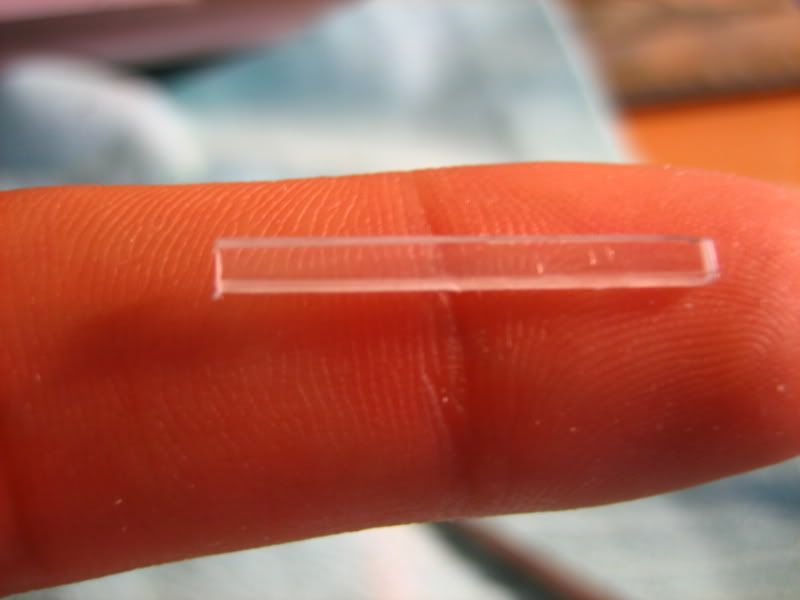
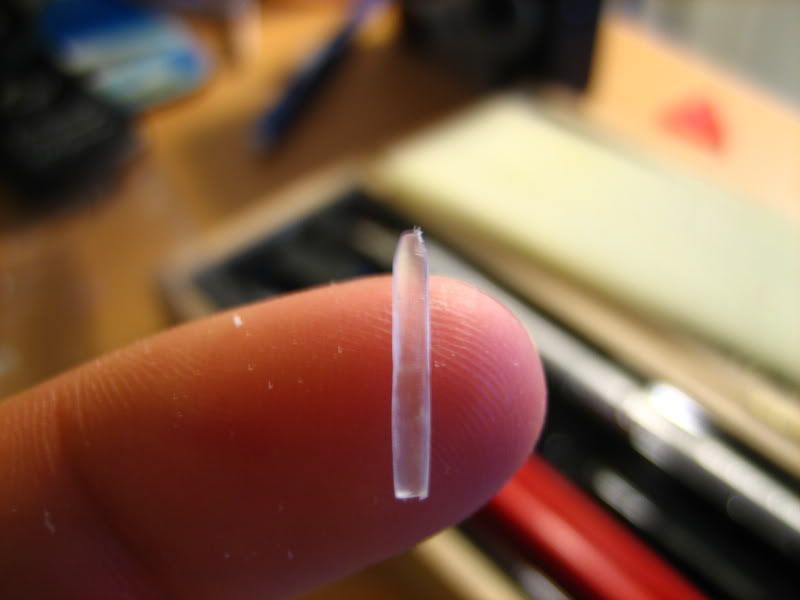
Start off by using the dremel and cut-off wheel to cut out a long rectangle of fairly thick plastic (keep in mind that you will drill into this, so the thicker the better).
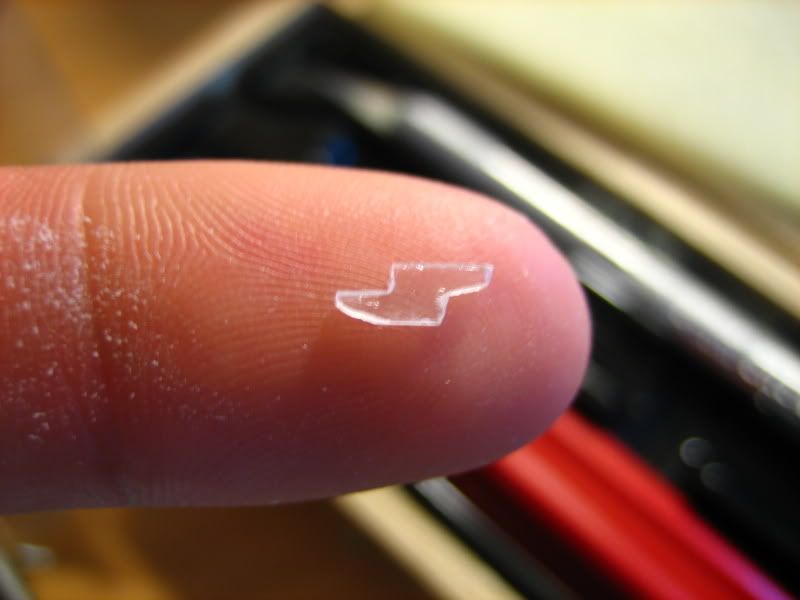
Now cut out a smaller block-like rectangle and shape it as seen below. An important note is that the middle part should be the same length as the first long rectangle. Use a thin to medium thickness piece of plastic here.
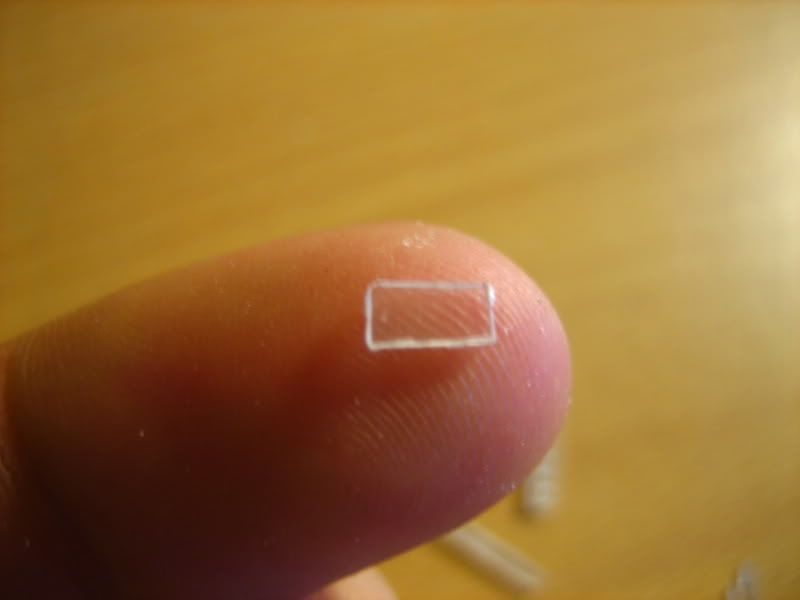
For the base of the jack and easiest step, just cut out a rectangle about the same size as the one you just cut out, and make sure it's pretty thick as well.
Now this is the HARDEST step. I'm not really sure how to describe it. Cut out a very thick piece of plastic that is about 2/3 to 1/2 the size of the first rectangle. Using the needle nose pliers to hold the piece and your dremel with cut-off wheel, cut off the edges of the rectangle and keep grinding it and shaping it until it resembles a handle or cylinder. Don't forget to round the top and keep the bottom flat.
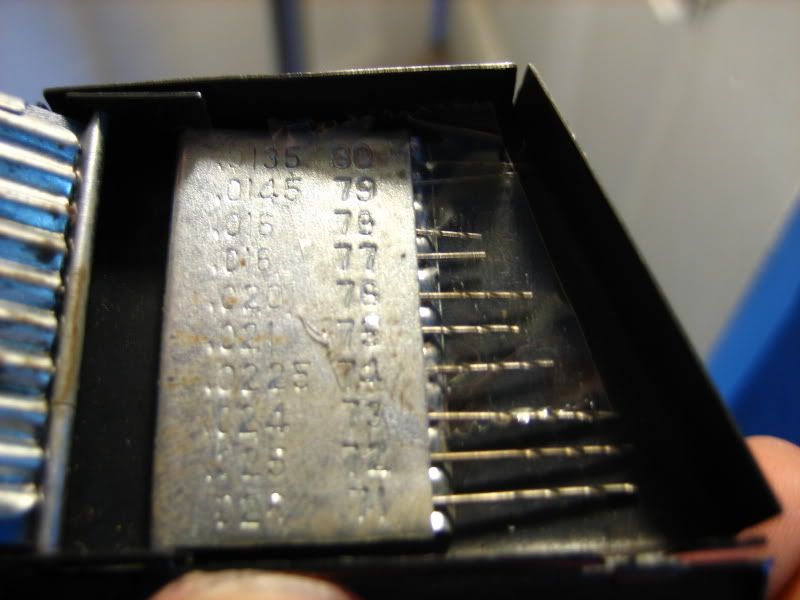
Go to your drill index set and grab number 73 or whatever size you think is best and put it in your drill or dremel.
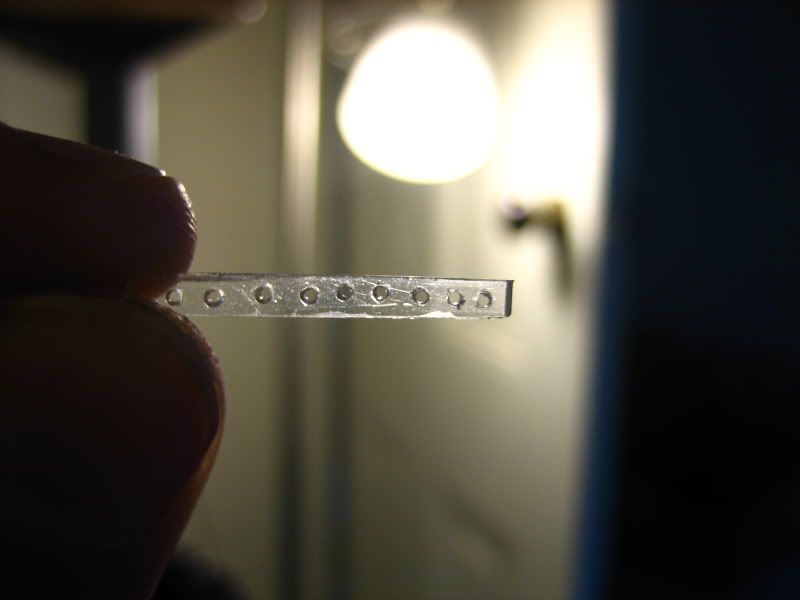
Take the razor blade mentioned earlier and use the tip of it to 'drill' (by spinning the blade) little starter holes in the first long rectangle. Once that is done you can drill pretty quickly (although haste makes waste, take your time) through the plastic to make your holes.
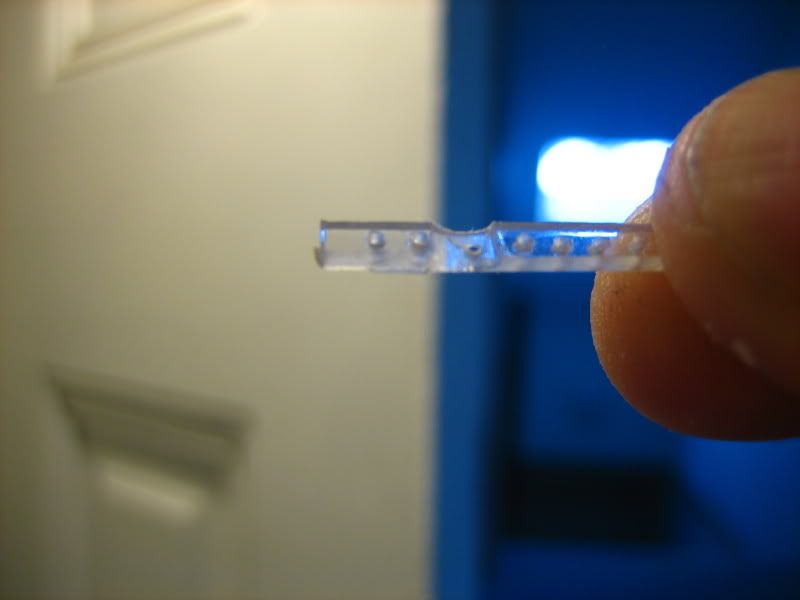
Using the cut-off wheel again, make a tiny notch in the long rectangle that is the same height of the lifty party we made in step 2. This is for the lifty thing to rest in on the jack. Be careful not to cut the long rectangle so thin that it breaks as I almost did.
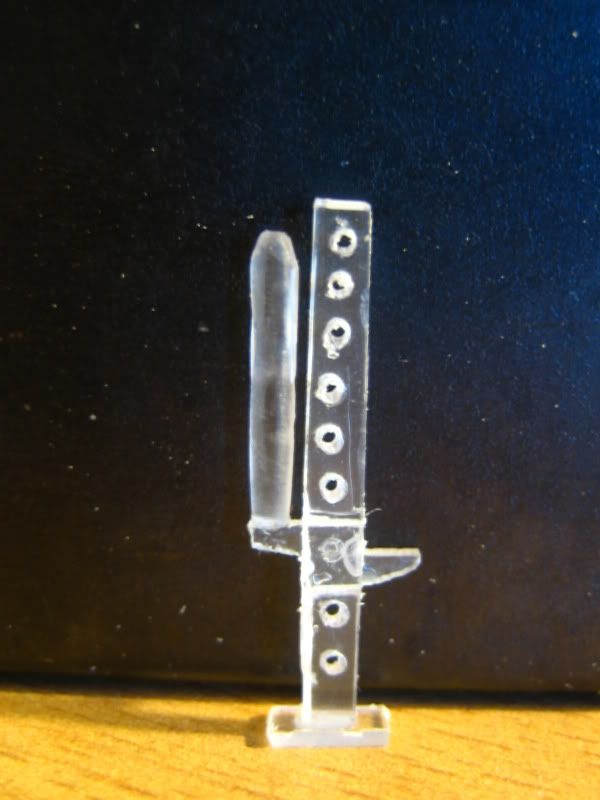
We're almost done! Grab your crazy glue and start gluing the lifty thing-a-ma-jig to the long rectangle. Then glue the handle to the end of the lifty thing. Lastly glue the base to the rest of it. You get the idea.
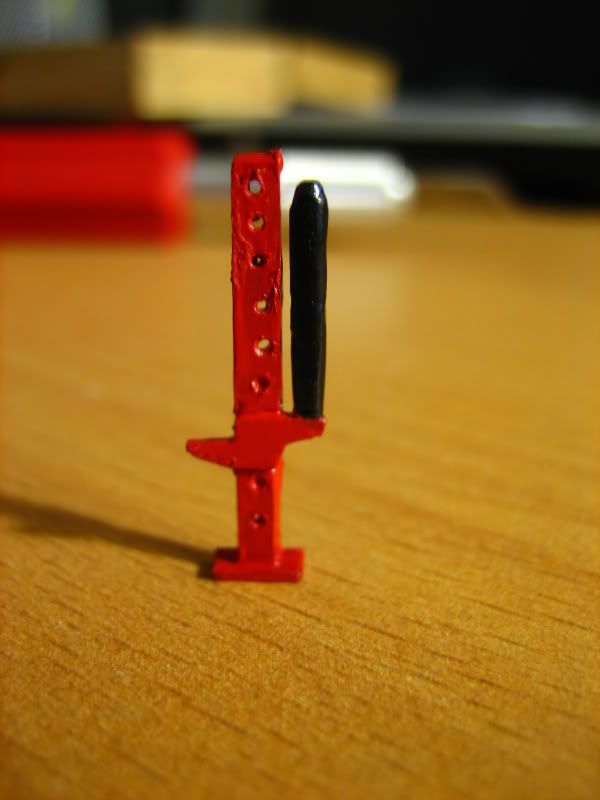
All that is left is to paint it. Just a word for the wise, leave the space between the handle and the jack clear. No one will notice and it's way too hard to get back in there. If you use steady hands and some good technique, most of the paint will naturally flow into the tricky areas. You can use a need when you are done to clear the holes of paint again.
Note: using the razor blade after each step to clean up the plastic you cut off will make your jack look that much better. Also, after you have drilled all the holes in the long rectangle, take bit that is a little bit larger and BY HAND, twist the bit on the holes and it should clear out any excess plastic.
So if you ask me, this is a pretty recognizable Hi-Lift Jack. Frizzen, I have nothing against you and I only did this to help you any one else who wants to build one. Please don't think I'm trying to make you look stupid in any way. Thanks for getting me off my butt to make one of these. I'm glad I did.
First and foremost, the intended result: a scale looking Hi-Lift Jack for your ZZMT
So now that you know what we are shooting for, let's get started.
The Parts list and half ass picture.
- Dremel
Cut-Off Wheel bit (I used the diamond plated one for cleaner cuts)
Drill bit number #73 from a drill index set
A Drill (if your dremel can't grip the drill bit)
Some red and black paint
A razor blade
Some scrap plastic of varying sizes from any ZZ, ZZSE, or ZZMT packaging
Needle Nose Pliers will make things tremendously easier
Crazy Glue
Lastly, a ton of patience and good hand work
Start off by using the dremel and cut-off wheel to cut out a long rectangle of fairly thick plastic (keep in mind that you will drill into this, so the thicker the better).
Now cut out a smaller block-like rectangle and shape it as seen below. An important note is that the middle part should be the same length as the first long rectangle. Use a thin to medium thickness piece of plastic here.
For the base of the jack and easiest step, just cut out a rectangle about the same size as the one you just cut out, and make sure it's pretty thick as well.
Now this is the HARDEST step. I'm not really sure how to describe it. Cut out a very thick piece of plastic that is about 2/3 to 1/2 the size of the first rectangle. Using the needle nose pliers to hold the piece and your dremel with cut-off wheel, cut off the edges of the rectangle and keep grinding it and shaping it until it resembles a handle or cylinder. Don't forget to round the top and keep the bottom flat.
Go to your drill index set and grab number 73 or whatever size you think is best and put it in your drill or dremel.
Take the razor blade mentioned earlier and use the tip of it to 'drill' (by spinning the blade) little starter holes in the first long rectangle. Once that is done you can drill pretty quickly (although haste makes waste, take your time) through the plastic to make your holes.
Using the cut-off wheel again, make a tiny notch in the long rectangle that is the same height of the lifty party we made in step 2. This is for the lifty thing to rest in on the jack. Be careful not to cut the long rectangle so thin that it breaks as I almost did.
We're almost done! Grab your crazy glue and start gluing the lifty thing-a-ma-jig to the long rectangle. Then glue the handle to the end of the lifty thing. Lastly glue the base to the rest of it. You get the idea.
All that is left is to paint it. Just a word for the wise, leave the space between the handle and the jack clear. No one will notice and it's way too hard to get back in there. If you use steady hands and some good technique, most of the paint will naturally flow into the tricky areas. You can use a need when you are done to clear the holes of paint again.
Note: using the razor blade after each step to clean up the plastic you cut off will make your jack look that much better. Also, after you have drilled all the holes in the long rectangle, take bit that is a little bit larger and BY HAND, twist the bit on the holes and it should clear out any excess plastic.
So if you ask me, this is a pretty recognizable Hi-Lift Jack. Frizzen, I have nothing against you and I only did this to help you any one else who wants to build one. Please don't think I'm trying to make you look stupid in any way. Thanks for getting me off my butt to make one of these. I'm glad I did.