
My Wheely King, soon to be "Mastodon"
-
SHAUN
- bitDisciple
- Posts: 1462
- Joined: Wed Oct 05, 2005 10:35 am
- Location: On the trail
- Contact:
-
CaboWabo
- Site Admin
- Posts: 10258
- Joined: Tue Dec 10, 2002 4:05 pm
- Location: The Adult Table
- Contact:
Yea, the old paint job looked good, but the new one kicks ass. Great job dude.
Dear Life Cereal, Where do you get off? Part of a balanced breakfast and delicious? Who do you think you are? By now you may have guessed I'm speaking ironically and have nothing but good things to say about what you do. Life cereal do not change a thing.
-
crazydave

- bitPimp
- Posts: 6874
- Joined: Thu Apr 17, 2003 9:05 am
- Location: Koolsville
Well cool, I'm glad I'm not the only one that thinks it looks better. MY wife said it looked the same. I guess she can't tell the difference between modern layered flames, and classic hot rod flames. 
These water based Parma paints come off pretty easy. I use some stuff from the dollar store called Awesome. It works good for removing paints, even laquer, but I recently discovered these paints will actually lift if you just soak them in warm water. Oddly, Parma claims, "specially formulated for Lexan", but out of curiosity, I tried using Createx T-shirt paints, and they seen to bond better than the Parma paints.SHAUN wrote:Also, how did you strip the body?
-
crazydave
- bitPimp
- Posts: 6874
- Joined: Thu Apr 17, 2003 9:05 am
- Location: Koolsville
Customized the chassis this weekend. Painted the frame rails with some Metal Flake Blue lacquer. Then I made some side plates from plastic backed with Spaz Stix chrome, and attached them with some screws from the Micro-T screw set.
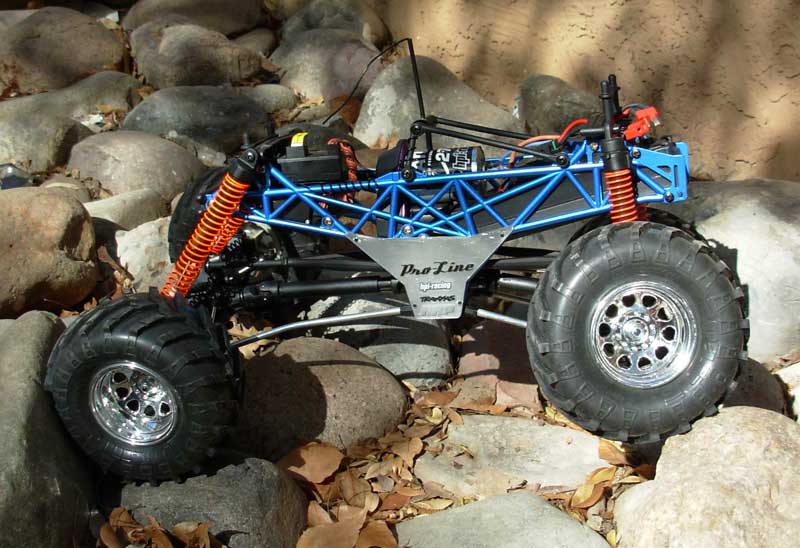
I'm really happy with the way it came out, because I think the side plates really add to the scale looks, and I dig how its all chrome sticking out from the bottom of the body, and then you can see some blue up in the wheel wells.
I'm really happy with the way it came out, because I think the side plates really add to the scale looks, and I dig how its all chrome sticking out from the bottom of the body, and then you can see some blue up in the wheel wells.
-
sg219
- bitPimp
- Posts: 4244
- Joined: Thu Jan 22, 2004 1:00 pm
- Location: Kennywood, PA
- Contact:

-
crazydave
- bitPimp
- Posts: 6874
- Joined: Thu Apr 17, 2003 9:05 am
- Location: Koolsville
-
ynad

- bitNinja
- Posts: 776
- Joined: Fri Apr 30, 2004 12:22 am
- Location: NYC/NJ
-
Bird

- bitPimp
- Posts: 1303
- Joined: Sat Jan 17, 2004 2:22 am
- Location: waste mifflin, pa
-
crazydave
- bitPimp
- Posts: 6874
- Joined: Thu Apr 17, 2003 9:05 am
- Location: Koolsville
Thanks. I like the looks of the chassis now, but the more I play with it, the more I think the tranny hangs too low, and drags to much. 
I forgot to post these pics up before. Got the Maximizer diff lockers in.
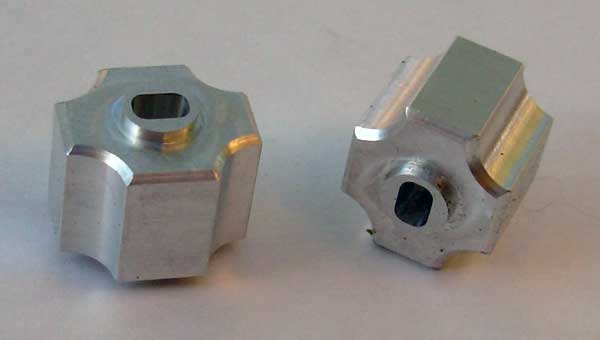

One of the reasons I went with these over the RCGuy ones is they are one piece, where as the others were 2 pieces, seems like that would put more stress on the plastic diff casing to me. I'm glad I went with these. They're nicely machined and fit nice and snug in the casing.
With them installed my steering became excessively wide. I'm gonna see what I can dremel away to remedy that, but it really made a huge difference getting the power solidly to all four wheels. I was making big piles of rocks, and the only thing that seemed to hang it up was the tranny hanging so low it would get high centered.
I forgot to post these pics up before. Got the Maximizer diff lockers in.
One of the reasons I went with these over the RCGuy ones is they are one piece, where as the others were 2 pieces, seems like that would put more stress on the plastic diff casing to me. I'm glad I went with these. They're nicely machined and fit nice and snug in the casing.
With them installed my steering became excessively wide. I'm gonna see what I can dremel away to remedy that, but it really made a huge difference getting the power solidly to all four wheels. I was making big piles of rocks, and the only thing that seemed to hang it up was the tranny hanging so low it would get high centered.
-
redrustbucket

- bitGangsta'
- Posts: 363
- Joined: Wed Mar 15, 2006 9:41 pm
- Location: sunny acres, fl
Welcome to the world of high traction and crappy turning radius. I've got rear steer on my clod which helps out a lot. I think you can do the same with a WK as long as you're not trying to enter any competitions with it.crazydave wrote:With them installed my steering became excessively wide.
The devil made me do it the first time, the second time I done it on my own...
tlca # 14622
tlca # 14622

-
crazydave
- bitPimp
- Posts: 6874
- Joined: Thu Apr 17, 2003 9:05 am
- Location: Koolsville
I finally got it all back together earlier this week, after breaking it on the big rocks.
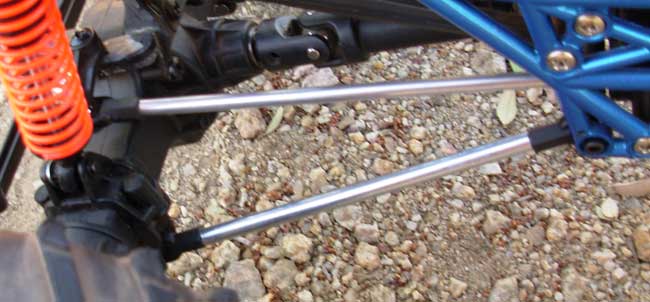
I threaded a piece of 4-40 rod into a ball link and tweaked at it with a par of pliers. I found they really shouldn't have snapped. They'll bend and twist long before they break. Judging by where mine broke determined I wasn't getting enough threads into it. So I had to make all new linkages. I purposely made them longer, because I'll probably decide to put a bend in them.
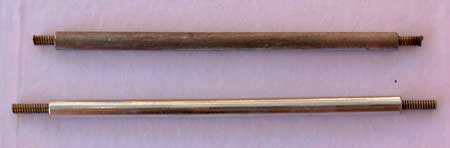
That should be more solid now. The steering has held up fine, but the threaded rod got a little tweaked. So I put some 5/32nd aluminum tubing over it. Looks nice too.
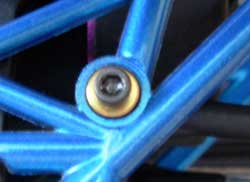
When I got home and started going over it, I realized I broke the 4-40 rod in the rear, because the upper link had snapped. I was afraid just extending that 3rd link would be a weak point. So I went ahead and did the four link thing. I was wary of doing it before, because the upper link fits inside the hoe, making the hole slightly over sized. These neat little brass spacers that come with the Dubro links solved that.
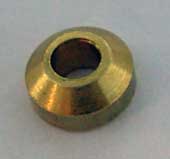
They fit perfectly in the hole
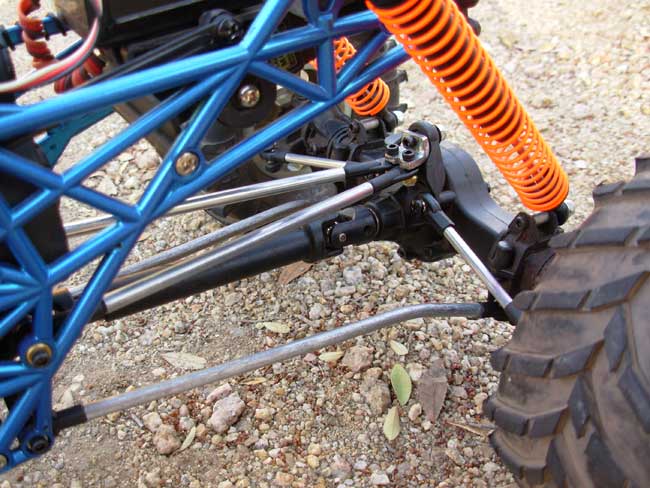
I'm glad I did it, it looks alot better, and feels a lot more solid. That little metal bracket should be pretty tough, took me about 4-5 hours, and a hole in my finger to cut and drill it. I also used some more of that aluminum tubing on the rear steering lockouts, just because it looks nice.
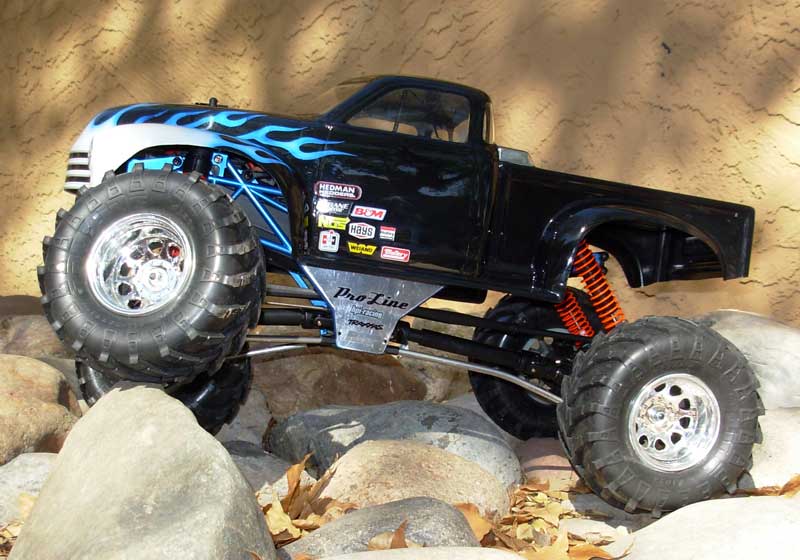
And then just because the details have changed, more vanity shots.
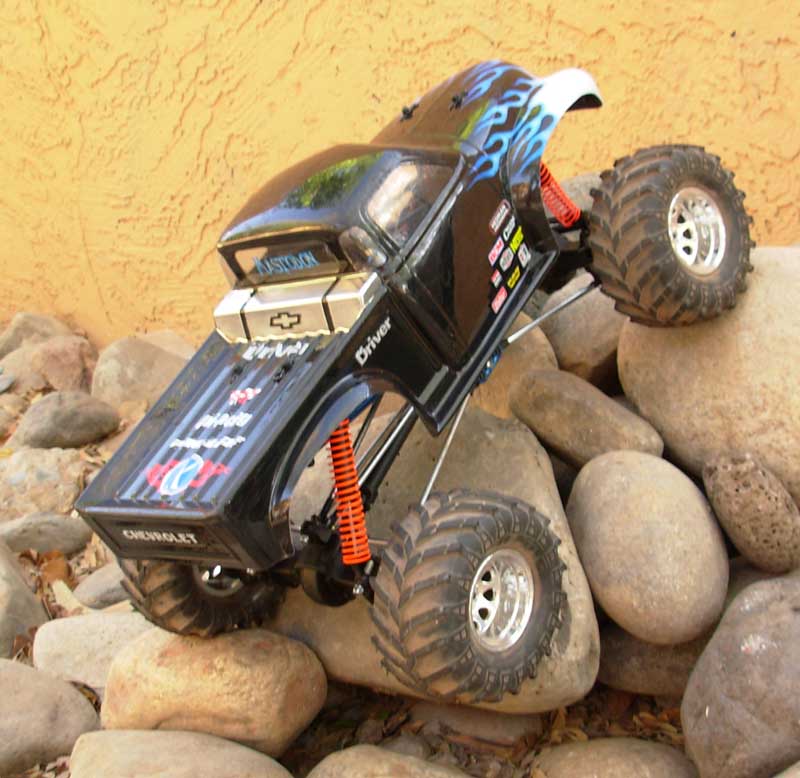
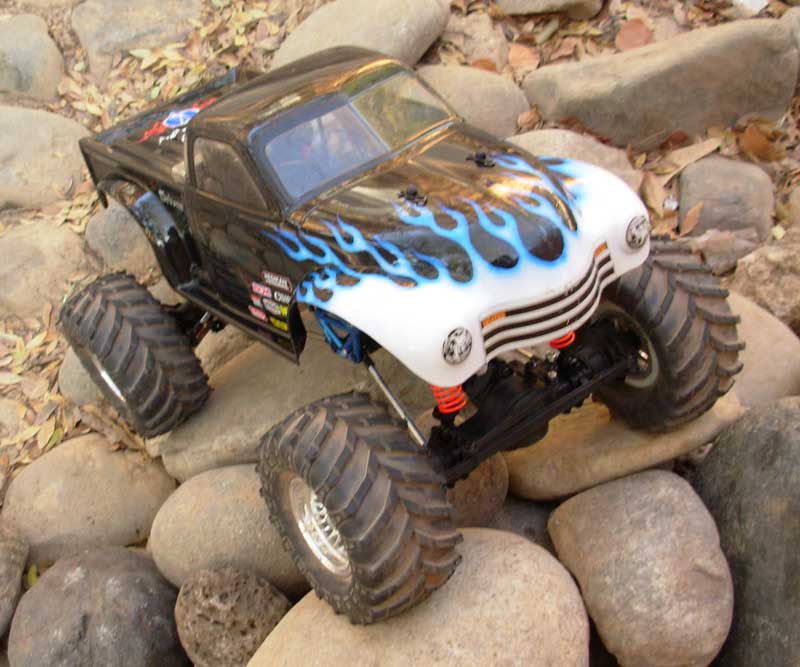
She still looks pretty in pics, but don't be fooled. Look close and you'll see she's getting beat!

I threaded a piece of 4-40 rod into a ball link and tweaked at it with a par of pliers. I found they really shouldn't have snapped. They'll bend and twist long before they break. Judging by where mine broke determined I wasn't getting enough threads into it. So I had to make all new linkages. I purposely made them longer, because I'll probably decide to put a bend in them.
That should be more solid now. The steering has held up fine, but the threaded rod got a little tweaked. So I put some 5/32nd aluminum tubing over it. Looks nice too.
When I got home and started going over it, I realized I broke the 4-40 rod in the rear, because the upper link had snapped. I was afraid just extending that 3rd link would be a weak point. So I went ahead and did the four link thing. I was wary of doing it before, because the upper link fits inside the hoe, making the hole slightly over sized. These neat little brass spacers that come with the Dubro links solved that.
They fit perfectly in the hole
I'm glad I did it, it looks alot better, and feels a lot more solid. That little metal bracket should be pretty tough, took me about 4-5 hours, and a hole in my finger to cut and drill it. I also used some more of that aluminum tubing on the rear steering lockouts, just because it looks nice.
And then just because the details have changed, more vanity shots.
She still looks pretty in pics, but don't be fooled. Look close and you'll see she's getting beat!
-
Bird
- bitPimp
- Posts: 1303
- Joined: Sat Jan 17, 2004 2:22 am
- Location: waste mifflin, pa
lemme know how them dubro 4/40 ends hold up... i tore up all of the tamiya ones i was using... my allthread was too short too... revision 3 now in progress lmao...
ps... my lid is way more beat than that...
ps... my lid is way more beat than that...
supaman dat hoe!crazydave wrote:the upper link fits inside the hoe, making the hole slightly over sized.
-
sg219
- bitPimp
- Posts: 4244
- Joined: Thu Jan 22, 2004 1:00 pm
- Location: Kennywood, PA
- Contact:
-
crazydave
- bitPimp
- Posts: 6874
- Joined: Thu Apr 17, 2003 9:05 am
- Location: Koolsville
About them Dubro ball links, when I got them home, I thought, "Aww shit, these are like airplane ones or something." I thought they looked flimsy. So I had the hobby shop order me some heavy duty ones. Meantime I got sick of waiting for them to come in, and ended up giving one of these the plier test. I found they're stiffer than the Traxxas ones at first, then once they bend, they just keep going. I could bend these in half, and back into shape with no signs of cracking. The Traxxas ones would have cracked up by that point. They also have a longer shaft that allows more threads to be threaded in. So I decided to use them, and realized, "Hey, I think these are the ones I'm always seeing in scale builds."Bird wrote:lemme know how them dubro 4/40 ends hold up... i tore up all of the tamiya ones i was using... my allthread was too short too... revision 3 now in progress lmao...
ps... my lid is way more beat than that...
I'm sure your body has been beat on more. I really haven't got the use out of this I would like to. I'm just surprised how much abuse its taken, in a short amount of time. I was thinking, what if I took a knife to the paint job, to accent the scratches, then back with silver. Make it look like the paint is scratching off metal.