
Mold & Casting Tutorial
by steelwoolghandi
I have put together what I like to think as a simple and quick tutorial for casting a body using Clear Casting Epoxy. I use Liquid Latex Rubber to build the molds of the item I wish to cast.
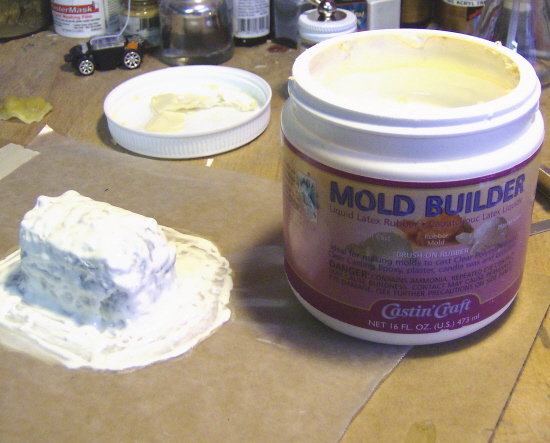
1. I use Mold Builder by Casting Craft to build my molds there are other Liquid Latex Rubber products out there and can be purchased at any LHS. I apply coats of the Latex to the outside of the item I am going to make a mold of. Make sure they are thin coats as the thicker they are the longer it takes to dry.
If you need to get the mold to dry faster use a heat gun to dry the Liquid Latex Rubber but be careful to close and you can melt the mold or the item your casting.
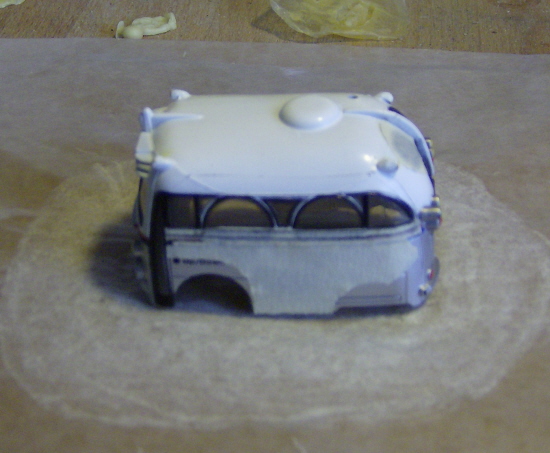
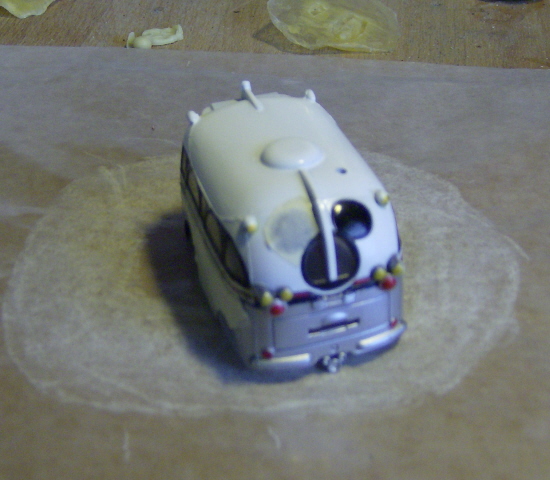
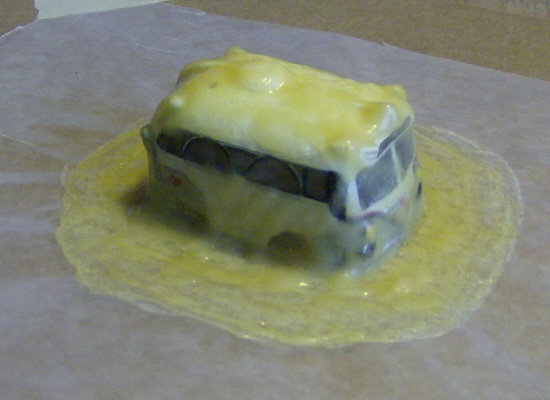
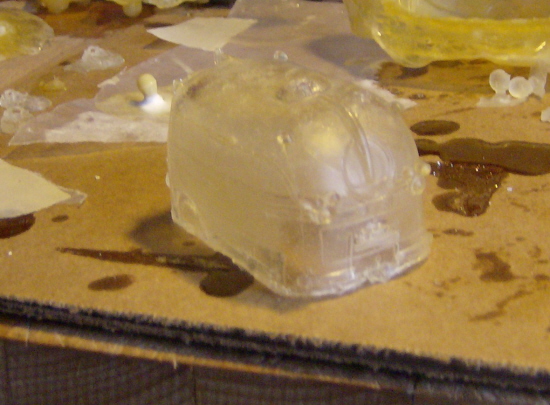
2. I chose to use the Disney bus as my item to cast. I did not want the Mickey ear windows and some of the bodylines so I covered them with tape so that they did not show up on the final casting. I use waxed paper to set my mold on so that the Latex will not stick to the surface.
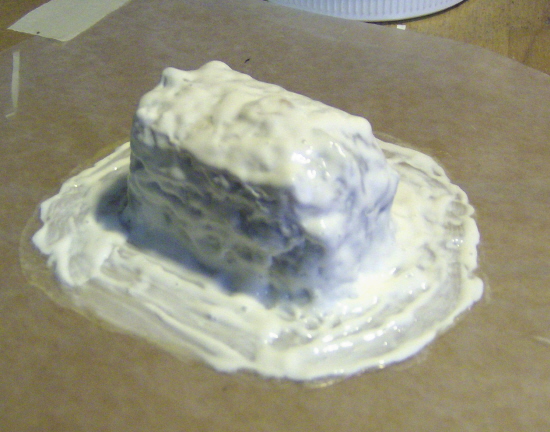
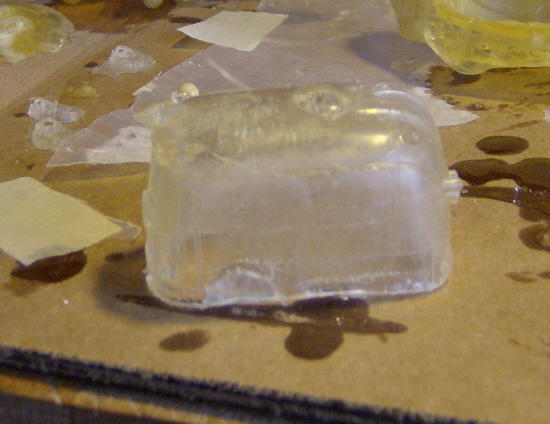
3. The mold has now been covered about 6 times always allowing the mold to completely dry before covering it again. Make sure you allow the latex to spread around your item (Bus) so that you have a Flange around the item and something to hold on to. This Flange will support the mold during casting.
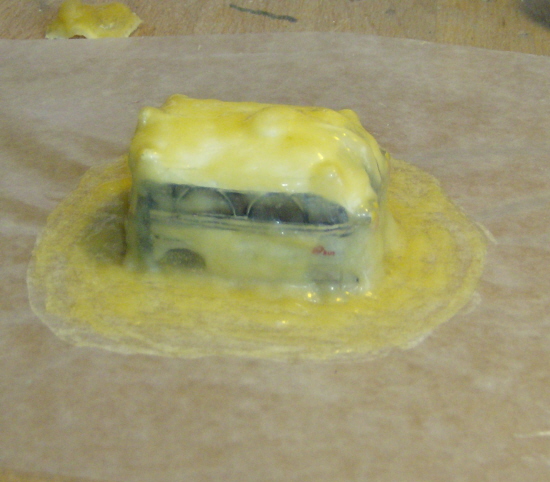
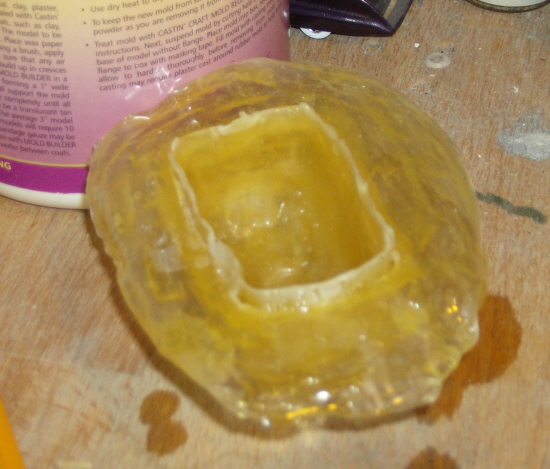
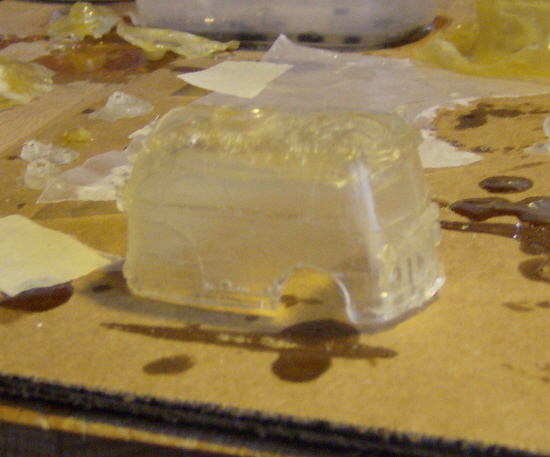
4. Now that the exterior mold is finished and has enough layers to make it sturdy during casting you can now coat the inside of the item your going to cast. Repeat the process you did on the exterior just on the inside this will form the inside of the mold.
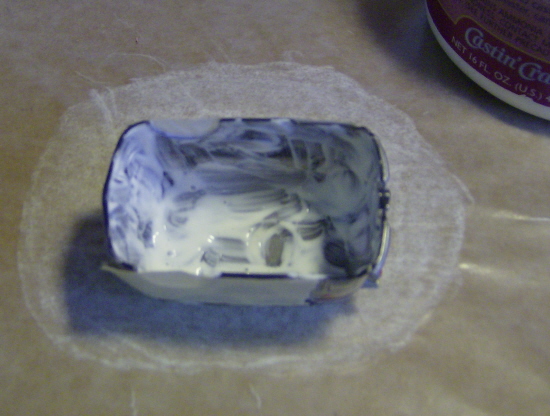
5. I have turned the outside mold inside out because there are still some bodylines on the windows (Mickey’s ears) in the windows I wish to remove. I take some of the liquid Latex and fill the lines in wiping them clear so they only cover the lines. I repeat if necessary to make sure all the lines are removed I need removed.
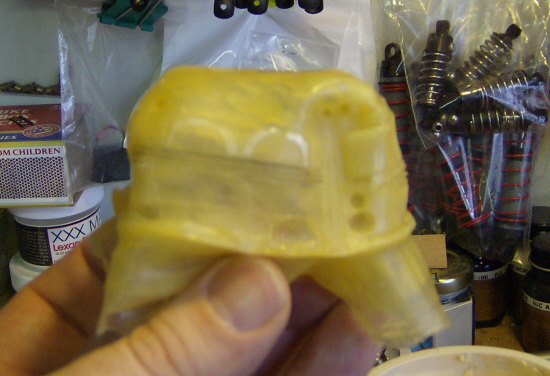
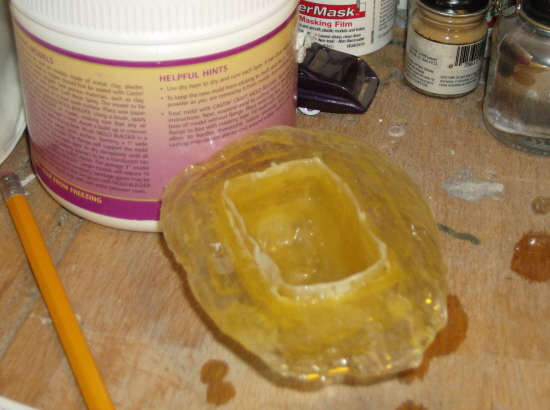
6. Now the interior mold is finished. I need to make sure any unwanted material is trimmed off of the mold (inside mold and outside mold) this would be anything I don’t want to show up on the finished cast piece. Also make sure there is no lip around the edges so that when your pour your Epoxy it will flow smoothly.
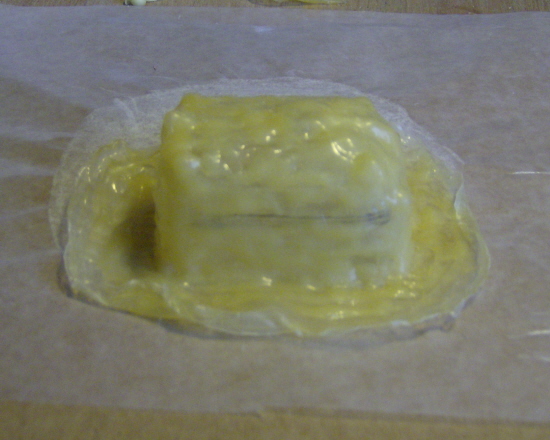
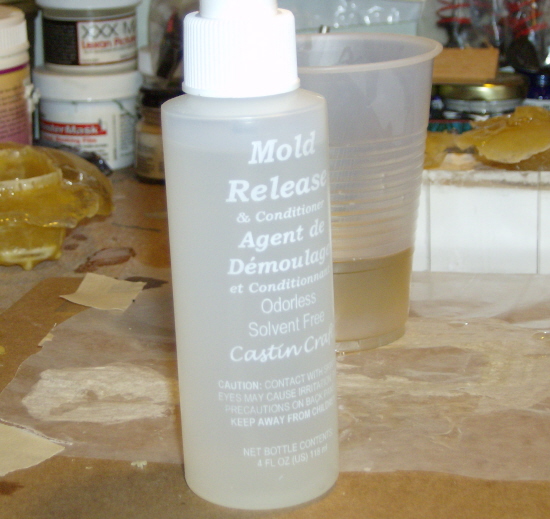
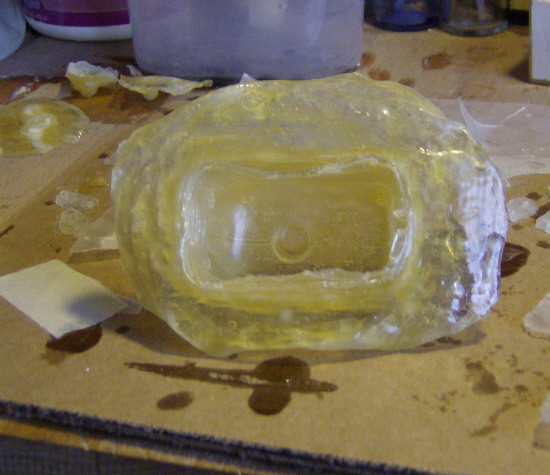
7. Now to prep the mold if you were to pour now the casting epoxy would stick to the mold making it hard if not imposable to get out. I use mold release agent in spray form to spray on the mold and make it easy to remove the casting once dry. If you spray the mold after use it will also condition it.
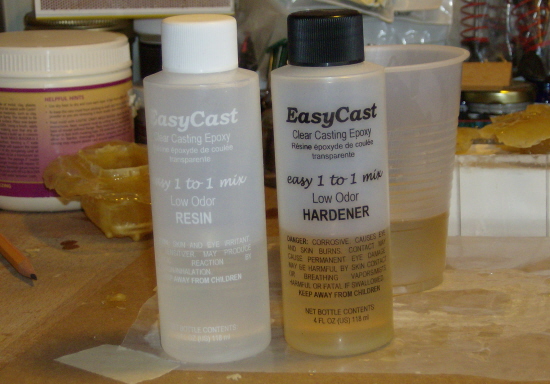
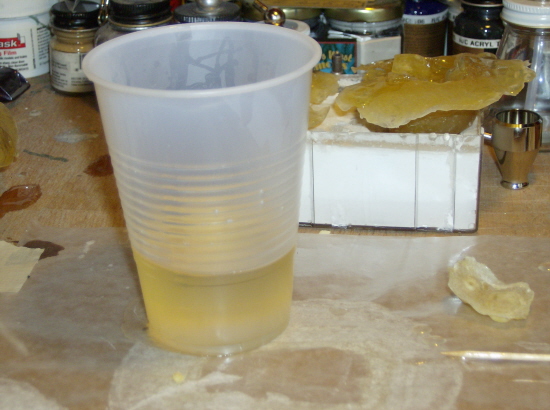
8. Now for the casting. I use Easy Cast Clear Casting Epoxy and it comes in two parts. You have a Resin and a Hardener. You mix it 1 to 1 one part hardener to one part Resin. Instead of buying a mixing cup I just use cheap plastic cups and pour one ounce of water at a time to mark the points on the side of the cup. Mix the two parts according to directions (these directions show mixing the two parts for 2 min. putting the mixture into another cup then mixing for 1 Min. longer). Now your are ready to pour the casting.
9. Pour a small amount into the main outside mold then take your inside mold and squeeze it into the outside mold. It will at this point squish the casting Epoxy up to the edge making a thin casting all around. You might have to put a weight on the inside mold to hold it down and in place.
10. Allow the mold to dry for 24 hours you will find with Epoxy the thinner the casting the longer it takes to dry. Make sure you put the mold up so it cannot get damaged or dented.
11. Once it’s dried for 24 hours then remove the inside mold first carefully, if it’s still sticky or real soft allow it to dry longer. The mold even after 24 hours will be soft so handle it gently. Once the inside is removed then gently remove the outside mold and you will have your final cast done.

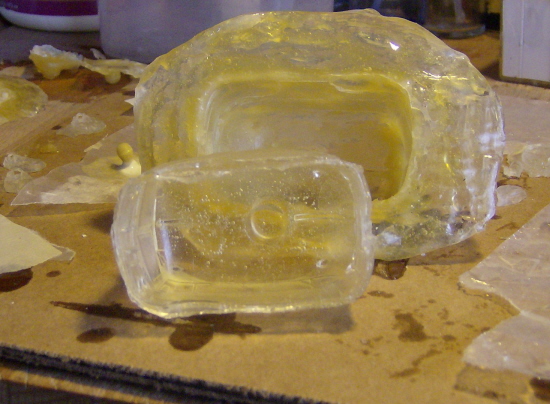
12. Your final cast will remain soft and easy to bend for at least 48 hours. This is a good thing because you can easily trim any access off the casting and cut out any pieces you wish to remove (wheel wells, windows etc.)
13. Once our cast is completely dry and complete you can sand it, Fill it, prime it and paint it the way you would like.
The type of casting material I use is supposed to release the bubbles as it dries but not all the bubbles will leave the material. I have not found any casting material that the bubbles are not present but this material has the least amount.
Steelwoolghandi
