Extend Your Controller’s Charging Time X 2
by ph2t
This is a mod I have done to be able to double the charge time on your controller. It is good for those times when you’re out in the trenches and you need an extra charge. This was done on the Aussie release of Bits known as the Compact Char-G.
Here’s how it is done:
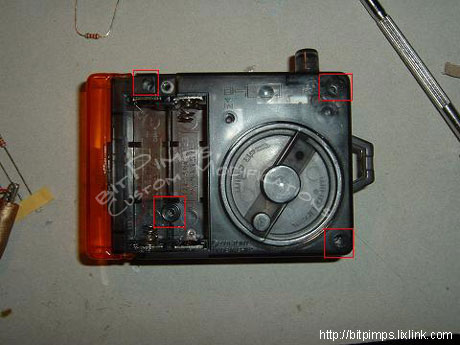
First, open up the case of the controller. The screws are located in the locations marked by the red boxes.
Be careful how you open it, there are very small and fine wires inside that connect the battery/charger and antenna to the main board. The side with the antenna is the side that acts like a hinge when you open the controller. It won’t open the other way, the wires won’t allow it.
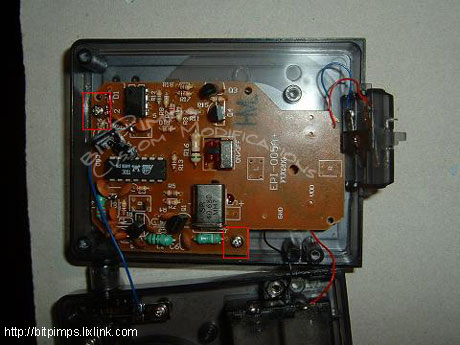
Remove the two screws marked in the red boxes to be able to remove the PCB from the casing.
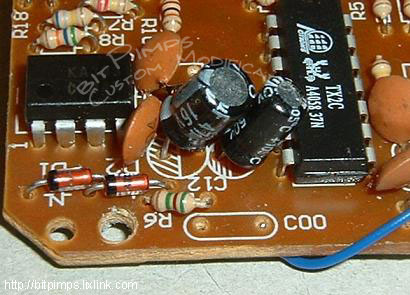
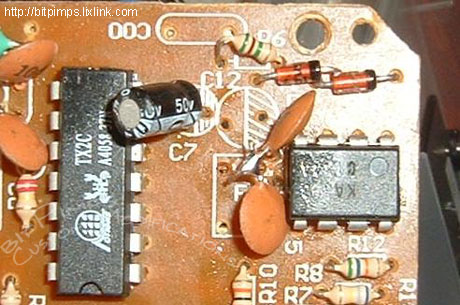
Now lets find the timing cap, this is the part we want to replace with another cap of greater value. You can see below the picture showing two black canisters. The one on the left (marked as C12) is the one we want to remove. These parts are known as electrolytic capacitors.
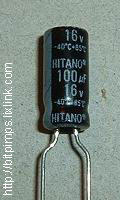
Now the original cap is marked as being a 47uF, that’s microfarads people. For this exercise I’ve decided to change the 47uF to a 100uF cap.
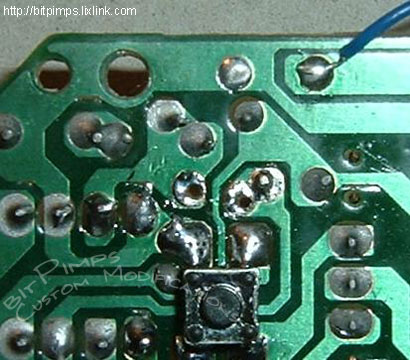
To remove the old cap locate the solder pads on the underside of the PCB and melt them with a soldering iron. Pull out the opposite leg of the cap each at a time and you will have a set of solder pads that look like this, nice and clean and ready for new solder……
You can see from the pic below that the -ve terminal is “meshed” so one can differentiate between -ve and +ve terminals, this is needed because the capacitors we are using only work in the one voltage/current direction.
Taking note of the polarity of the capacitor make sure you put it in the right way, making sure that +ve and GND are all ok.
Here’s the finished product.
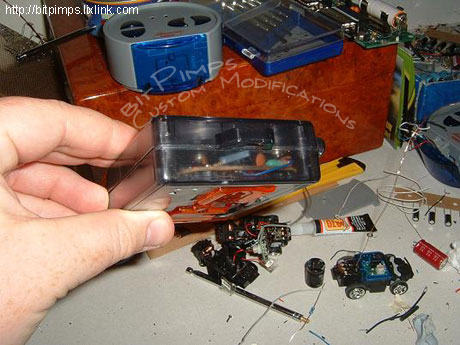
And no one will know the difference, below you can see the cap through the semi-clear plastic covering of the controller.
The capacitor I chose was based on a very quick calculation. The original cap was 47uF, this factored to a 53 sec charge time. I replaced with a 100uF cap and got a 2 minute charge.
I’m yet to test how this affects available runtime, will post info soon.

