Off-Road Bits – Part 1: Chassis Chopping
by betty.k
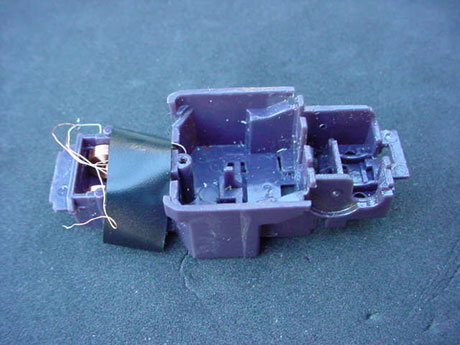
First, strip your chassis of everything, except the steering coils and maybe the steering adjustor. It ends in tears if you don’t! Tape the steering wires out of the way.
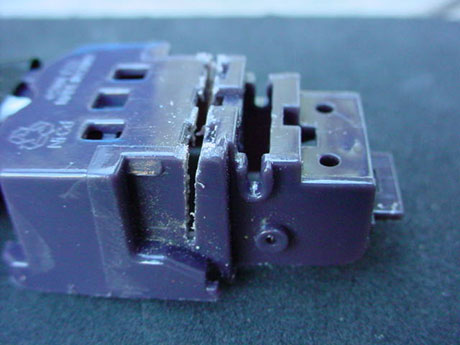
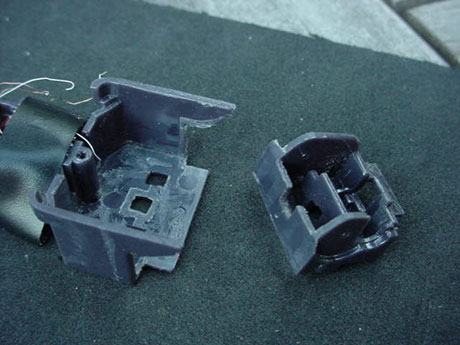
Turn the chassis upside down and cut down, straight across where the charging terminals were. This internal view shows where the blade should be. But don’t cut all the way through.
As you can see, straight through the charge holes. Don’t cut through any further than this.
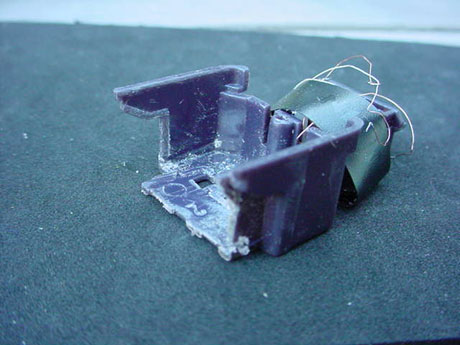
Start your second cut from the top. You want to meet up with the end of your second cut. Don’t disturb the holes for the transfer gear shaft. Do the same cut on both sides. (Well duh!)
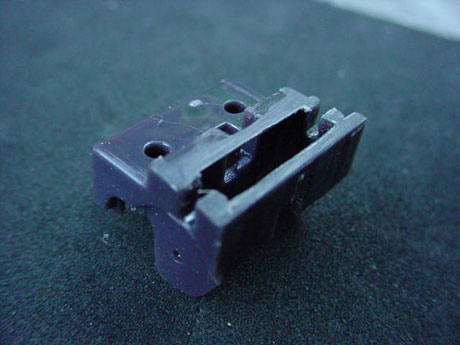
If you want to keep it as a single cell, then neaten up the edges of the cut on the front half of the chassis, and put aside.
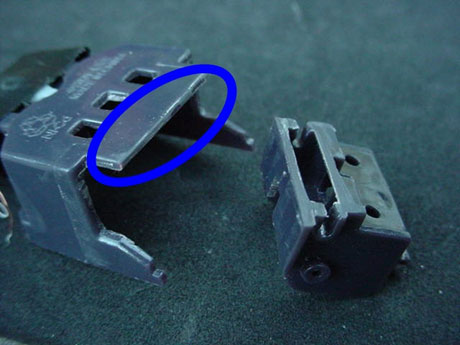
But dual cells rock my world! So I remove the extra material to fit them in. it looks like too much, I know. But it’s plenty rigid for driving. If you install a shock pivot rail (see rear shock), it will be stiffer again.
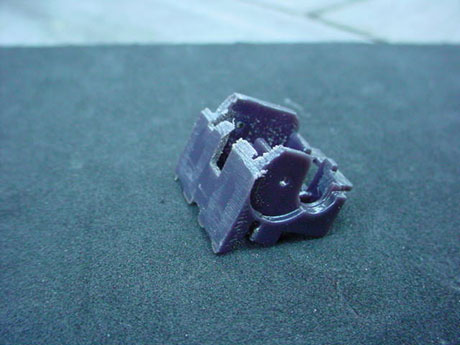
File down the front of the motor housing until it’s flat, no more.
Underneath the motor housing, the front side of the axle clip sticks down further than the rear. I just cut it down until they’re both even. This increases clearance.
Tidy up the 2nd cut marks on the motor housing and that’s it. Try not to remove too much material from where the transfer gear sits to prevent any play. Although I’ve removed more than this before without a problem.
Do your best to round off all the new edges, especially the new edge on the front half of the chassis.

