Off-Road Bits – Part 7: Wheels
by betty.k
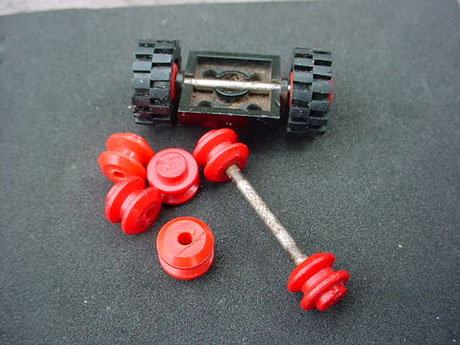
This time ’round we’re gonna turn the humble Lego wheel into a very effective and (I think) aesthetically pleasing off-road wheel set. If you haven’t already sold all your Lego as a teen to buy a triple chamber bong, then hunt down these types of wheels. And remember kiddies, drugs are bad, mm’kaaay?!
Remove the axles (good luck, Lego made things to LAST!), and find some way of holding the wheel while you drill into it, like a vice. I just use a big Lego wheel to hold it, but this is pretty dangerous, so be careful. Find a drill bit that’s as big as or bigger than the wheel diameter. You’re going to drill into the side the axle was on, that’s going to be the new outside.
Basically you want to use the drill to countersink into the wheel. Don’t go much further than this. Don’t force the drill into it; just let the bit and weight of the drill do the work. just go a little at a time. If it’s a bit lopsided, lean the drill towards the thicker side. Just remember, a bit at a time, if it takes you 5 min to do 1 wheel, that’s better than destroying one in 5 seconds.
You’ll need to make a hole in all 4 wheels, the size of the axle you plan on using. Get this as straight as you can. with a file or sand paper, file down the writing on the knob as level as you can on 3 of the wheels. put one aside, that will be the right rear wheel.
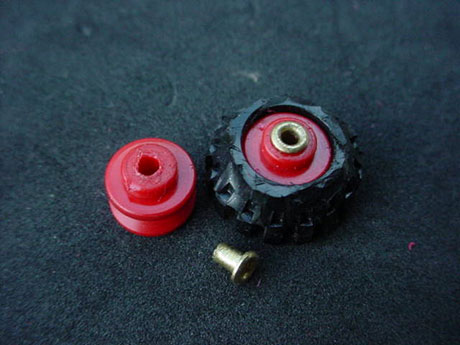
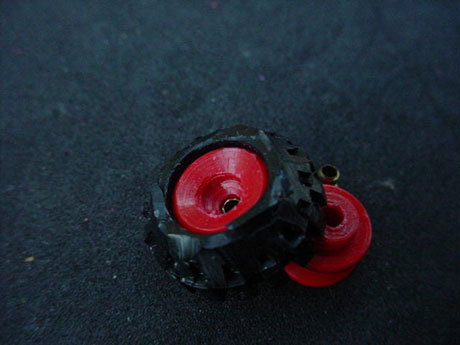
With the wheel that’s still got the writing, you want to remove the knob that’s protruding, so it’s level with the main part, you can see what I mean with the right wheel in this pic. Again, try to smooth it down level.
For the front wheels, I add a little bushing that’s perfect for a front axle. And there’s not enough plastic for the wheel to run true once attached to the knuckle. You could also use some tubing from a WD40 can; you may have to widen the internal diameter with a drill bit. do this by hand. You need to drill a hole the same diameter as the bushing you’re using into the wheels. Poke the bushing into the (new) inside of the wheel as shown.
As I’m using these bushings, I’m drilling a hole the same diameter as the flanged part. The bushing is going to be the other way around when completed. But I leave it in this way as a guide when drilling. Do this with both front wheels. Tidy up the edges of the holes with a hobby knife and make sure the inside of the wheel is smooth and level.
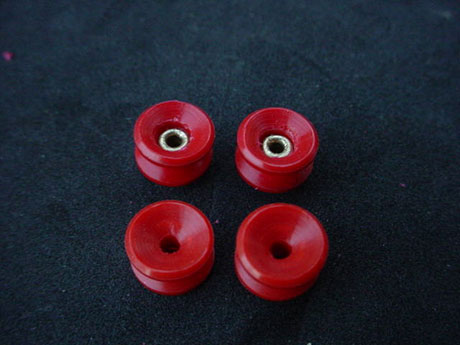
And that’s it. This is the outside of the wheels. front wheels top, left and right rear wheels bottom. These front wheels are a bit messy, but you get the idea. Just so long as the wheels run true.
…and the inside, same order again. As you can see, the top right wheel is a bit wonky. It does run true, but you really want it to look like the top left one.
Here are the rear wheels, mounted. You need to make a spacer about 1mm wide for the right side so they stick out the same amount both sides when attached to a chassis. The left wheel should be flush against the gear wheel, the gear wheel fits nicely inside the tire when it’s on.


