Import Racerz Wheel Mod
by Finks
Been meaning to do this every time I have performed this mod, so finally got around to it. Without further ado…
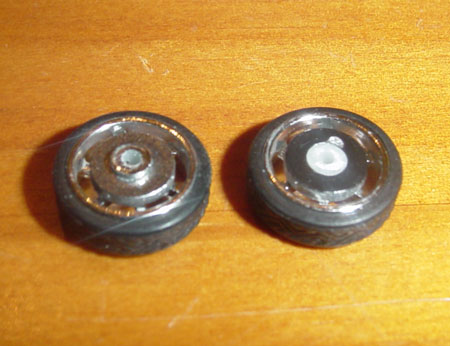
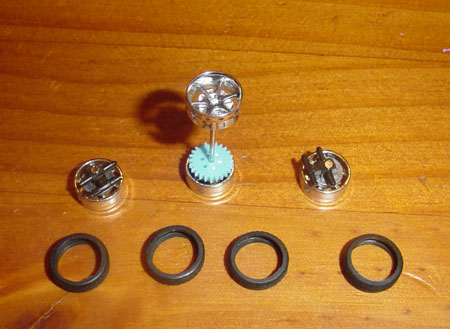
First off you have to remove the wheels off of an Import Tunerz diecast. You can change this up for other brand diecasts, but I like the style of the Import Tunerz best. That and they are always the perfect size.
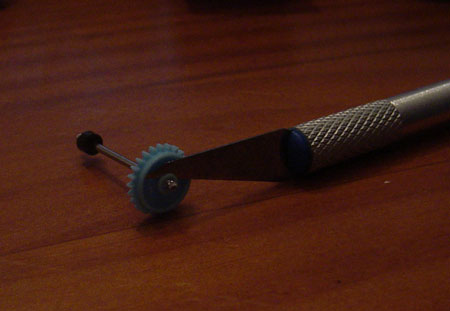
Next you want to strip down the rear axel of your Zip/Bit (for this tutorial I am using a Zip Zap SE) Taking off the wheels on the rear is as simple as twisting them off. Note that for the side without the gear it is best to pre-cut the wheel off on the axel so that a little bit of plastic is left over. See the fuzzy pic.
After I decided it was best to remove the nub off of the gear so that the wheel would attach flat.
To make it so the Import Tunerz wheels fit you do have to shorten the axel a bit. In the past I was able to make it so that the rear wheels didn’t need to have holes all the way through them, but with this particular style it wasn’t possible.
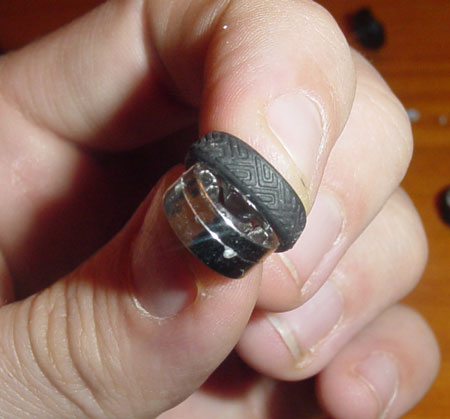
Speaking of wich, now it is time to drill all 4 of your new wheels. Make sure you use a bit that is the right diamiter for your axels. Like I said, it is possible to have it so the rear wheels only need their hole widened to punctured all the way through. Note my Son’s hands on these 2 pics, yeah I’m a bit sweat shop.
After drilling the wheels you will want to shave the nub off of one of your rear wheels so it will be flush w/ the gear.
Pop on your tires now. Note that there is no grove, personally that doesn’t bother me, but if it does you can form one by glueing wire around the wheel.
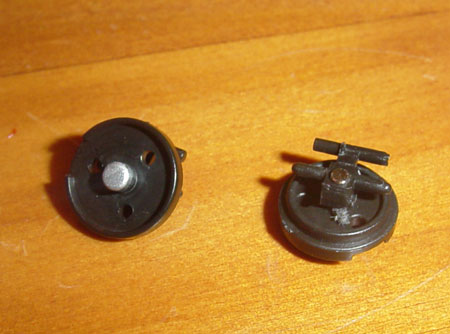
Now for the front wheels. Take them off and pop out those axels, use whatever method you prefer.
As you can see I used two different methods, 1st, beating the shit out of it till I could cut her out, and then I woke up and used the soldering iron method. (That’s when you heat the axel and melt the surronding plastic.)
Now it’s time to put it all together. Use epoxy and attach the rear wheels, making sure they are flush as to not add wobble. For the fronts it depnds on if you are doing a Zip, Bit, or SE. For me I applied the epoxy inside the wheel, but for Zips and Bits you apply it inside the arm. Let them set over night.
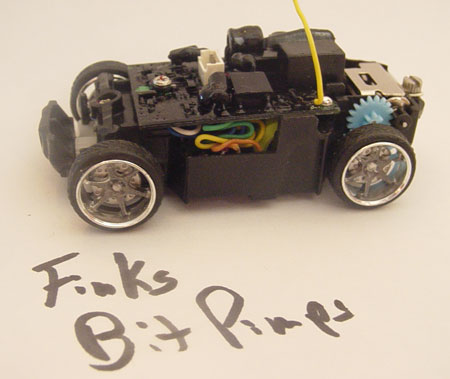
Slap it all together, and Bam, you have insta Bling!
Note the lowered pcb on this momma jomma!






December 15th, 2007 00:55
who makes the import cars please email me the maker at qjam1@aol.com thank you
August 3rd, 2008 14:51
when u put da body on and u start driving around. dont da front tires rub???
August 3rd, 2008 19:23
You will have to ask in the forum to be sure, but Jada Toys seems to be the maker of the wheels in this particular article.
Body rub depends on the body. You may need to do a little shaving on the inside of the body to eliminate rub. There are many examples of this through-out the forum. Just make sure you shave from the inside of the body first. And test, test, test.