Off-Road Bits – Part 6: Front Suspension
by betty.k
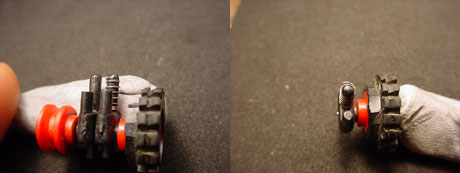
This little walk through is mainly for enertec micro chargers as they have poor front suspension travel. But the same methods apply for any micro rc front end. You can see the knuckle as far up as it will go, but there’s still room for more travel. The main things to avoid are that the knuckle doesn’t pop out of the chassis at full compression, and that the steering arm doesn’t pop off at full extension.
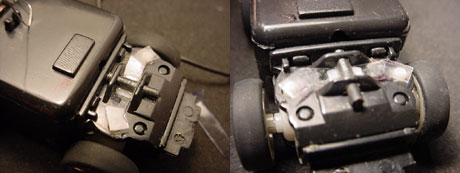
One part to mod is the steering arm. Using a file remove some material from the underside, but not too much as it may weaken it and the less material the quicker it will wear. But I’ve removed as much as half without a problem. Don’t go any further in than necessary as the underside rests on the chassis at full extension, so mark it while assembled. Do your best to smooth the new surface down so the knuckles don’t get caught on little burrs and nicks. I’ve also removed some material from the front as the springs rub on it. Again, no further in than needed. I also like to bend the steering spring down a little at the ends to prevent it coming over the top of the adjustment peg, but it’s up to you to decide whether that’s necessary.
Another thing I do to the steering spring is taking it off the little pegs, but leave it on the main one. Bend it around the main peg gently, a little at a time. This tightens the tension a little reducing the need for extra springs.
On the knuckle hole in the chassis there’s a slightly raised part. Removing this gives you a little more extension, but if you plan on using stiff springs that have no sag I’d leave them.
On the underside of the steering cover are 2 raised parts that the steering arm rests on most of the time. Filing these down a little allows the steering arm to move up a little further.
The peg that goes into the steering arm can also be filed down a little. Make sure there are no burrs.
With springs, make sure the end of the top part sticks out a little. If it hugs the knuckle too close it will jam itself between the knuckle and steering cover, causing the steering to seize.
If you can’t get hold of good springs you can do a poor man’s version using springy plastic from packaging. This actually works quite well and you can experiment with different materials and thicknesses. And all made with scraps.
First, remove the stock sway bar and attach it to a piece of plastic using blu tack or tape. Then mark the outline on the plastic. Remove the sway bar and cut the new one out. Remember to make it a tiny bit bigger than it needs to be at first, you can always trim it down. Place the new sway bar where the old one was to make sure it fits. If you have to wedge it down trim it a little till it rests in sway bar groove flat. It should move freely but not so narrow that it twists around a lot. Once you’ve cut it out you can bend the ends down or up to adjust tension, have a play around with it. Find some wire and cut a short section off. Place the sway bar in its groove and insert the wire in the holes where the old sway bar attached. Put a tiny amount of glue where the wire touches the spring to stop it slipping out and if needed a little bit to hold the wire in place. Just don’t get any glue under the sway bar.


